Configure a Citrix® ADC VPX instance to use SR-IOV network interfaces
You can configure a Citrix ADC VPX instance running on Linux-KVM platform using single root I/O virtualization (SR-IOV) with the following NICs:
- Intel 82599 10G
- Intel X710 10G
- Intel XL710 40G
- Intel X722 10G
This section describes how to:
- Configure a Citrix ADC VPX Instance to Use SR-IOV Network Interface
- Configure Static LA/LACP on the SR-IOV Interface
- Configure VLAN on the SR-IOV Interface
Limitations
Keep the limitations in mind while using Intel 82599, X710, XL710, and X722 NICs. The following features not supported.
Limitations for Intel 82599 NIC:
- L2 mode switching.
- Admin partitioning (shared VLAN mode).
- High availability (active-active mode).
- Jumbo frames.
- IPv6: You can configure only up to 30 unique IPv6 addresses in a VPX instance if you’ve at least one SR-IOV interface.
- VLAN configuration on Hypervisor for SRIOV VF interface through “ip link” command is not supported.
- Interface parameter configurations such as speed, duplex, and autonegotiations are not supported.
Limitations for Intel X710 10G, Intel XL710 40G, and Intel X722 10G NICs:
- L2 mode switching.
- Admin partitioning (shared VLAN mode).
- In a cluster, Jumbo frames are not supported when the XL710 NIC is used as a data interface.
- Interface list reorders when interfaces are disconnected and reconnected.
- Interface parameter configurations such as speed, duplex, and auto negotiations are not supported.
- Interface name is 40/X for Intel X710 10G, Intel XL710 40G, and Intel X722 10G NICs
- Up to 16 Intel XL710/X710/X722 SRIOV or PCI passthrough interfaces can be supported on a VPX instance.
Note:
For Intel X710 10G, Intel XL710 40G, and Intel X722 10G NICs to support IPv6, you need to enable trust mode on the Virtual Functions (VFs) by typing the following command on the KVM host:
# ip link set <PNIC> <VF> trust onExample:
# ip link set ens785f1 vf 0 trust on
Prerequisites
Before you configure a Citrix ADC VPX instance to use SR-IOV network interfaces, complete the following prerequisite tasks. See the NIC column for details about how to complete the corresponding tasks.
| Task | Intel 82599 NIC | Intel X710, XL710, and X722 NICs |
|---|---|---|
|
- | - |
|
IXGBE driver | I40E driver |
|
Add the following entry in the /etc/modprobe.d/blacklist.conf file: blacklist ixgbevf. Use IXGBE driver version 4.3.15 (recommended). | Add the following entry in the /etc/modprobe.d/blacklist.conf file: blacklist i40evf.Use i40e driver version 2.0.26 (recommended). |
|
If you are using earlier version of kernel 3.8, then add the following entry to the /etc/modprobe.d/ixgbe file and restart the KVM host: *options ixgbe max_vfs= |
If you are using earlier version of kernel 3.8, then add the following entry to the /etc/modprobe.d/i40e.conf file and restart the KVM host:*options i40e max_vfs= |
|
See example in figure 3. | See example in figure 3. |
Important:
When you create the SR-IOV VFs, ensure that you do not assign MAC addresses to the VFs.
Figure 1: Enable SR-IOV VFs on the KVM host for Intel 82599 10G NIC.

Figure 2: Enable SR-IOV VFs on the KVM host for Intel X710 10G and XL710 40G NICs.
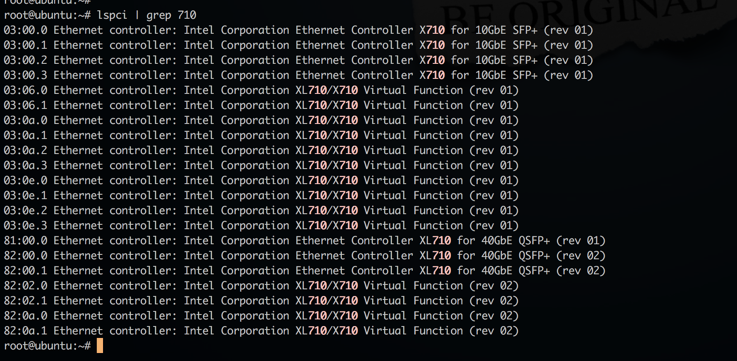
Figure 3: Enable SR-IOV VFs on the KVM host for Intel X722 10G NIC.

Figure 4: Make the VFs persistent.

Configure a Citrix ADC VPX instance to use SR-IOV network interface
To configure Citrix ADC VPX instance to use SR-IOV network interface by using Virtual Machine Manager, complete these steps:
-
Power off the Citrix ADC VPX instance.
-
Select the Citrix ADC VPX instance and then select Open.

-
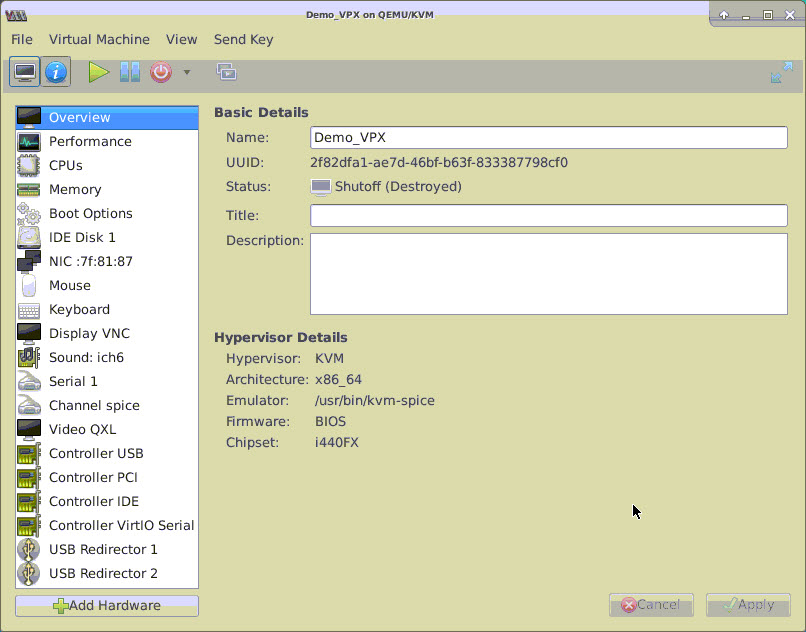
In the <virtual_machine on KVM> window, select the i icon.
-
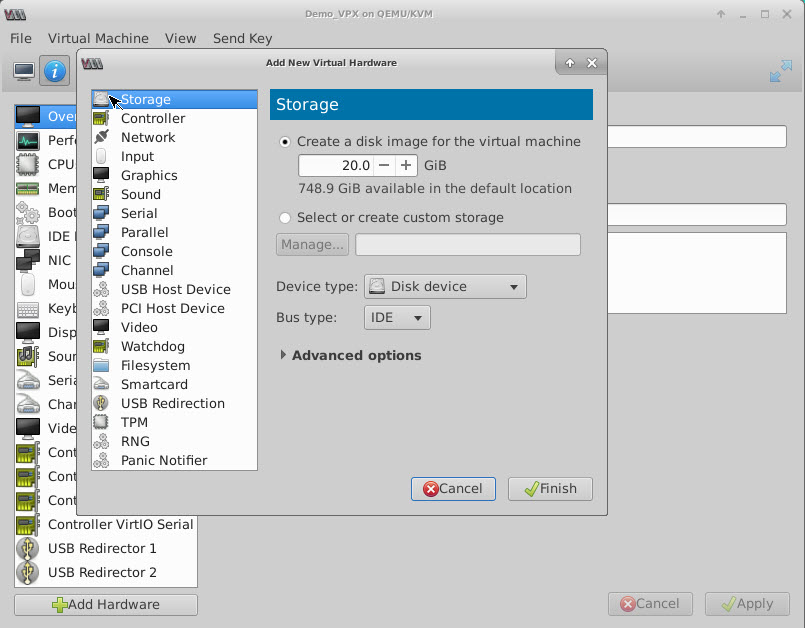
Select Add Hardware.
-
In the Add New Virtual Hardware dialog box, do the following:
- Select PCI Host Device.
- In the Host Device section, select the VF you have created and click Finish.
Figure 4: VF for Intel 82599 10G NIC
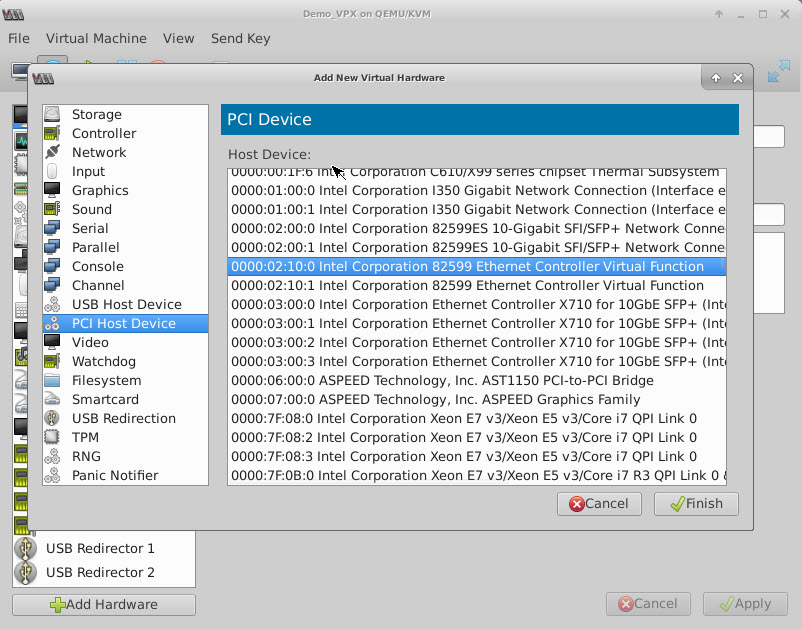
Figure 5: VF for Intel XL710 40G NIC
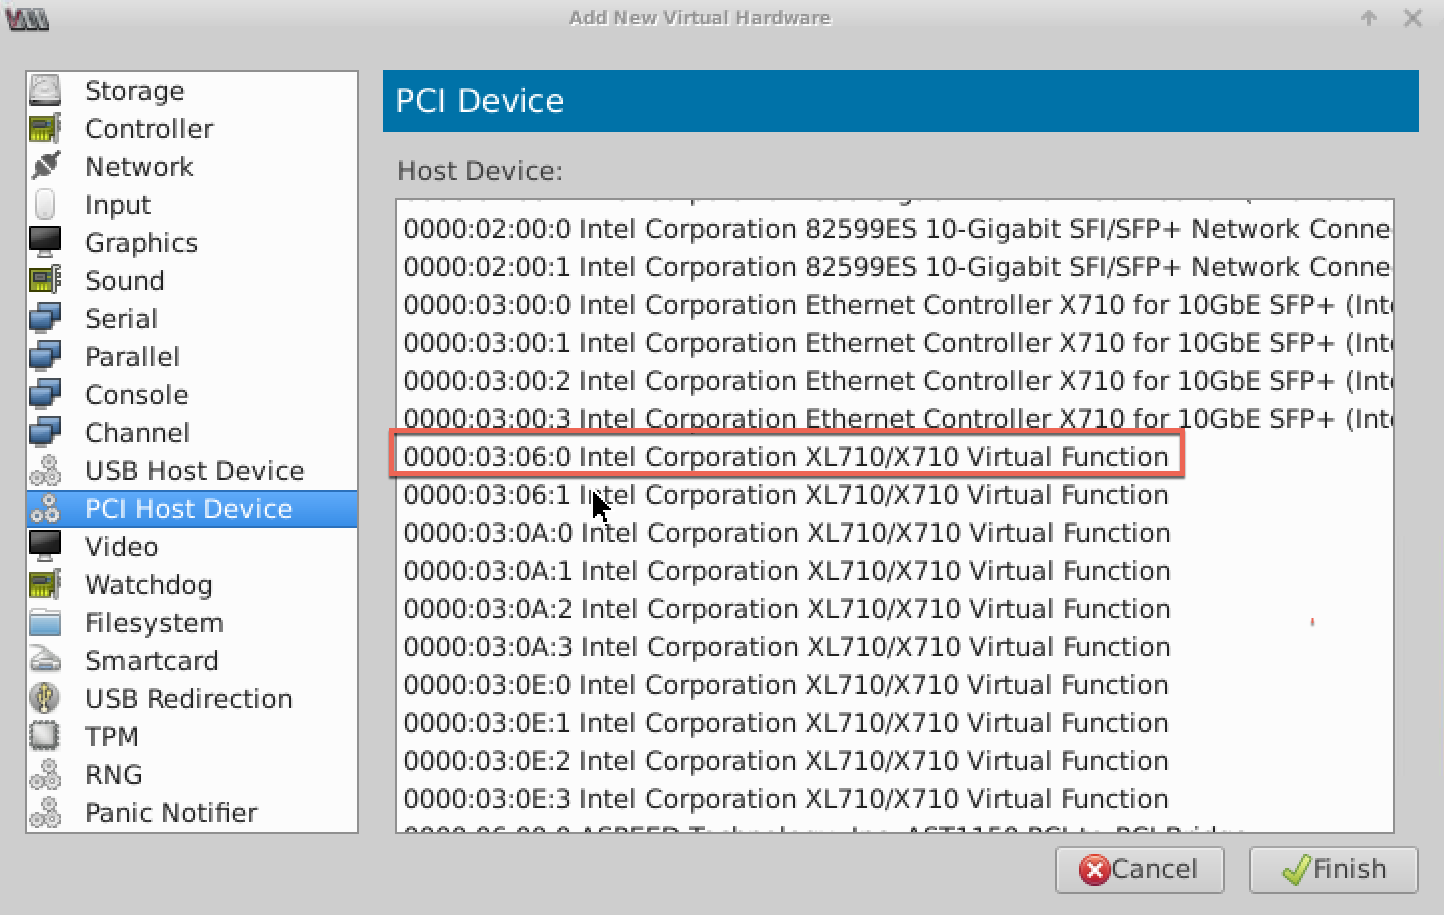
Figure 6: VF for Intel X722 10G NIC
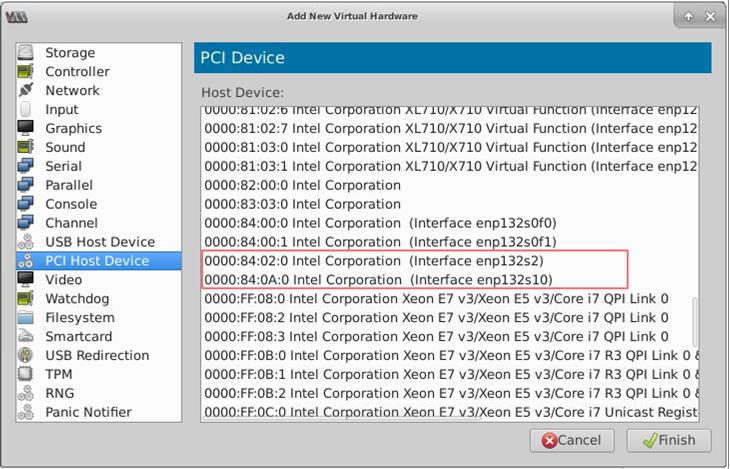
- Repeat Step 4 and 5 to add the VFs that you have created.
- Power on the Citrix ADC VPX instance.
-
After the Citrix ADC VPX instance powers on, use the following command to verify the configuration:
show interface summary
<!--NeedCopy-->
The output shows all the interfaces that you configured.
Figure 6: output summary for Intel 82599 NIC.
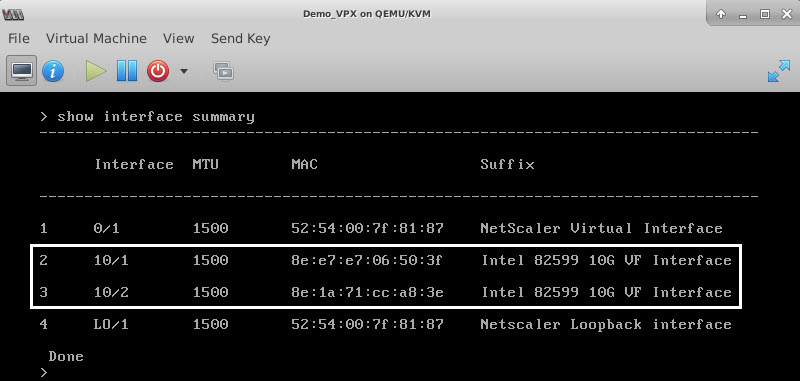
Figure 7. Output summary for Intel X710 and XL710 NICs.

Configure static LA/LACP on the SR-IOV interface
Important:
When you are creating the SR-IOV VFs, ensure that you do not assign MAC addresses to the VFs.
To use the SR-IOV VFs in link aggregation mode, disable spoof checking for VFs that you have created. On the KVM host, use the following command to disable spoof checking:
*ip link set \<interface\_name\> vf \<VF\_id\> spoofchk off*
Where:
- Interface_name – is the interface name.
- VF_id – is the Virtual Function id.
Example:
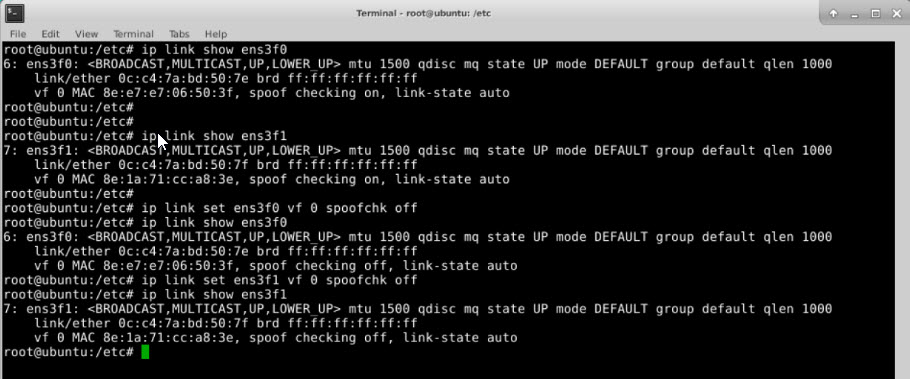
After you disable spoof checking for all the VFs that you have created. Restart the Citrix ADC VPX instance and configure link aggregation. For detailed instructions, see Configuring Link Aggregation.
Configuring VLAN on the SR-IOV Interface
You can configure VLAN on SR-IOV VFs. For detailed instructions, see Configuring a VLAN.
Important:
Ensure that the KVM host does not contain VLAN settings for the VF interface.