NFactor configuration using the latest visualizer
Important information:
This topic contains instructions to configure the nFactor flow using the latest visualizer. The old visualizer described in the nFactor Visualizer for simplified configuration article is planned for deprecation in the upcoming releases.
Starting from release 14.1 build 29.x, NetScaler supports the latest nFactor visualizer. The latest visualizer is an enhanced version of the old visualizer. It provides a new look and feel, and is more intuitive than the old visualizer.
The latest visualizer supports the following features:
-
You can build a prototype of your nFactor flow even before configuring the associated entities such as policies, login schema, and authentication server. The old visualizer allowed you to create the second factor only after the policies and login schema of the first factor are configured.
-
The View nFactor option is introduced on the Authentication Policy page. This page displays a summary of the nFactor flows created. For the flows configured using the GUI or CLI, NetScaler automatically displays them on the latest visualizer.
-
When creating the nFactor flow, you can name its entities at any point. This functionality is not supported in the old visualizer.
To configure the nFactor flow using the latest visualizer:
-
Navigate to Security > AAA-Application traffic > Virtual Servers.
-
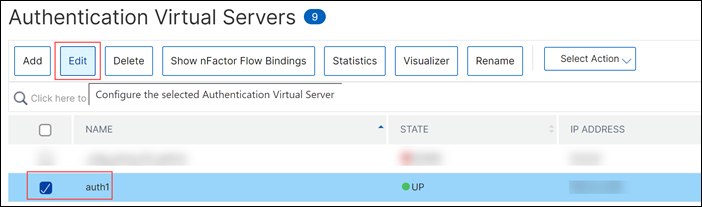
Select an authentication virtual server and click Edit.
-
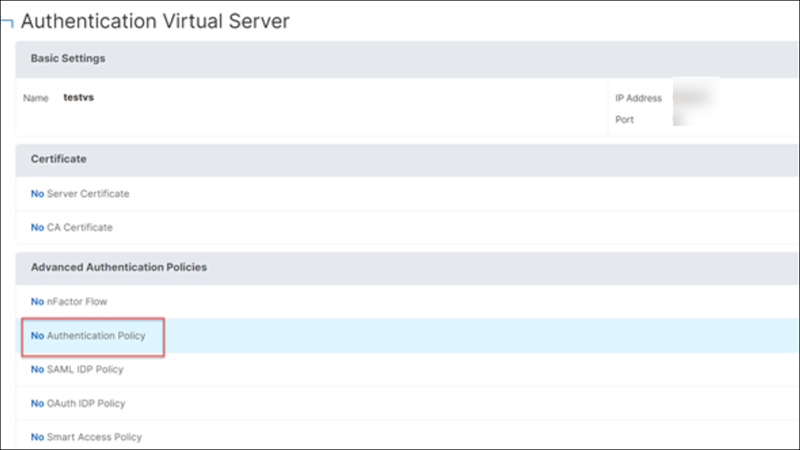
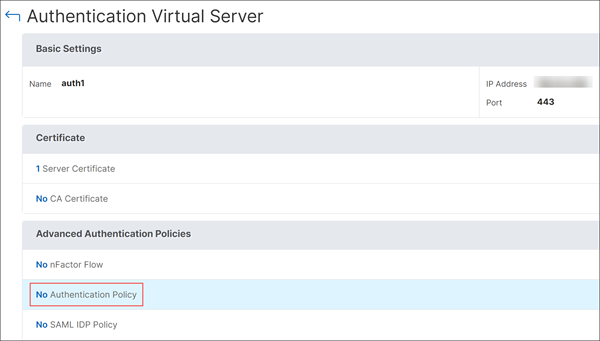
In the Advanced Authentication Policies section, select the authentication policy.
-
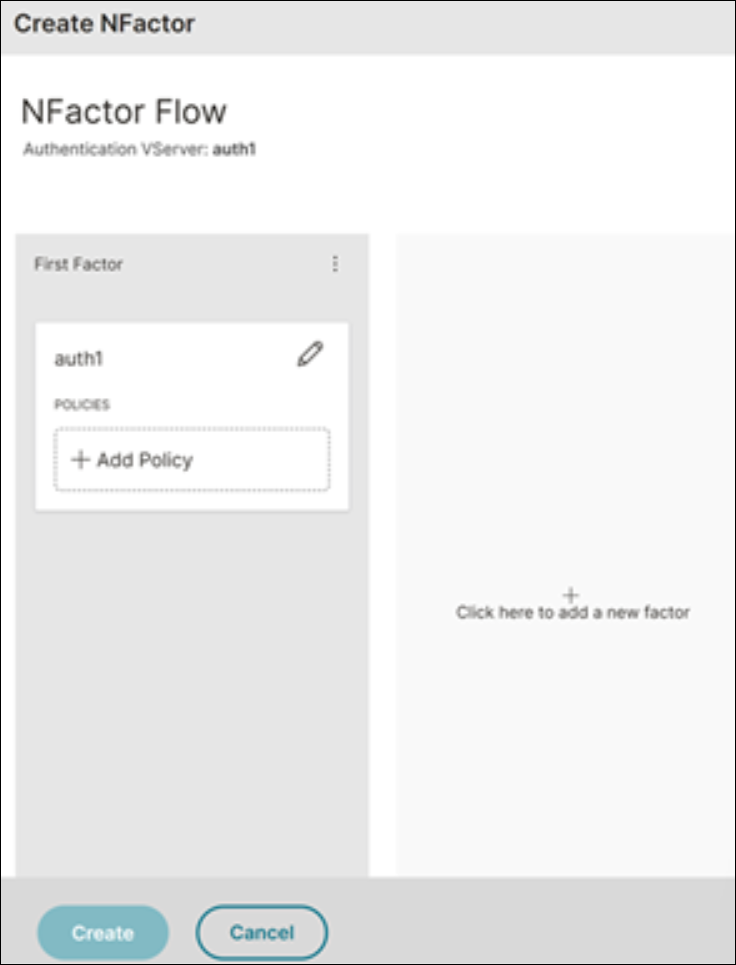
On the Create NFactor page, configure the nFactor flow.
View the nFactor flow
-
Navigate to Security > AAA - Application Traffic > Authentication Virtual Servers.
-
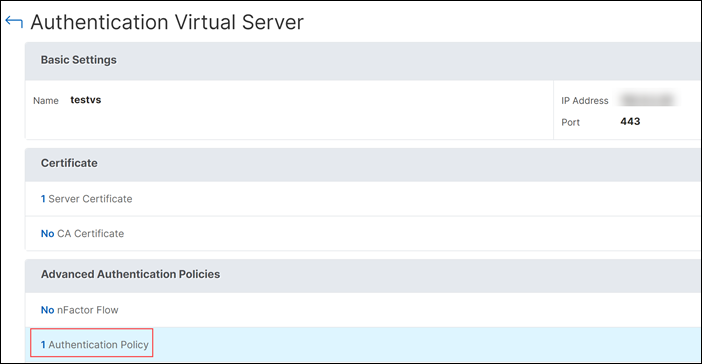
On the Authentication Virtual Server page, select the authentication policy under Advanced Authentication Policies.
-
On the Authentication Policy page, select the policy and click View nFactor.

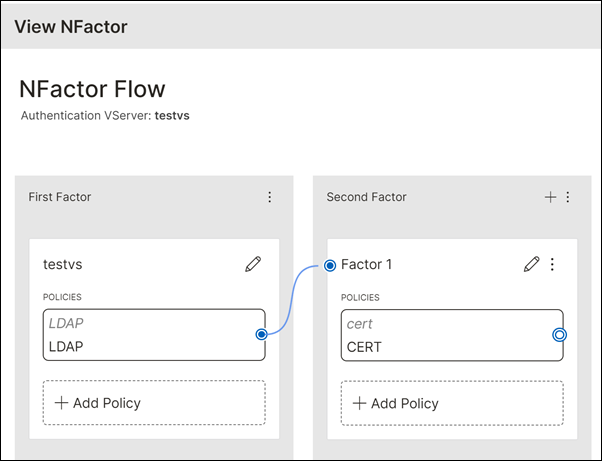
You can now view a summary of your nFactor flow.
Notes:
Currently, NetScaler does not support modifying an nFactor flow once created.
When configuring a flow, if an entity (login schema, policy, or policy label) is created with a duplicate name, the GUI displays an error without specifying the name of the duplicate entity. Clicking Create results in the loss of the entire flow.
Scenario 1: LDAP group extraction as the first factor followed by LDAP or Client certificate authentication based on group membership as the second factor
In this scenario, admins can:
- Configure LDAP group extraction in the first factor.
- Based on the groups extracted during the first factor, admins can configure the next factors with LDAP or certificate authentication.
On the latest visualizer:
-
Navigate to Security > AAA-Application traffic > Virtual Servers.
-
On the Authentication Virtual Servers page. select an authentication virtual server and click Edit. In this scenario, “testvs” is the authentication server used.

-
Create a login schema for the first factor.
-
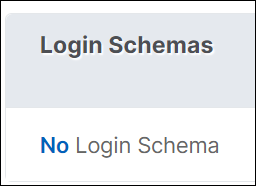
On the Authentication Virtual Server page, navigate to the Login Schemas section.
Note:
In this scenario, “OnlyUsername.xml” is used as the login schema for the first factor.
-
-
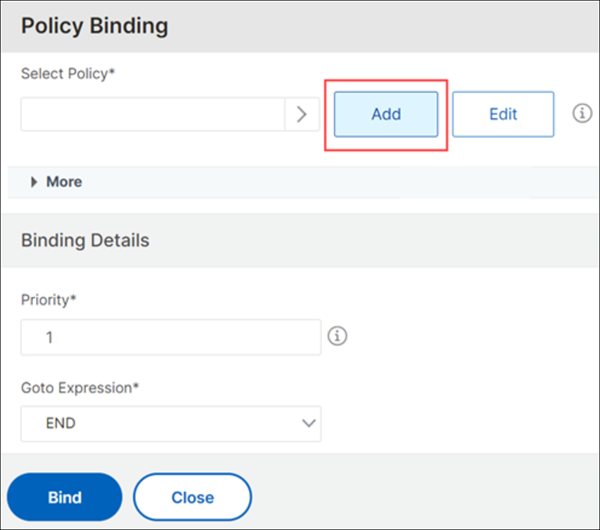
On the Policy Binding page, add a login schema policy and profile.
-
To add a policy, on the Policy Binding page, click Add next to the Select Policy field.
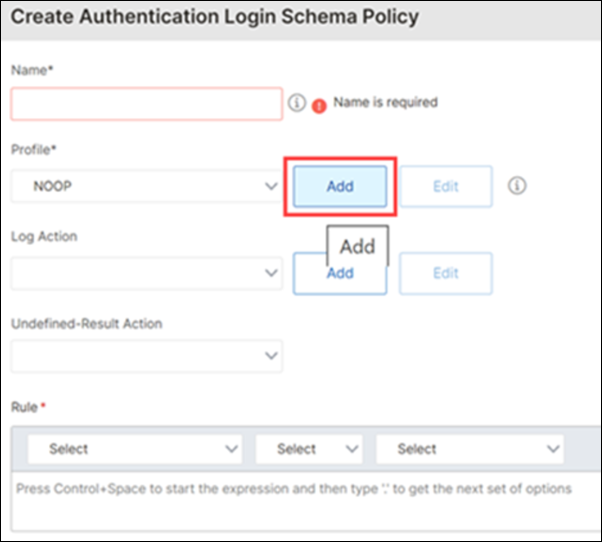
-
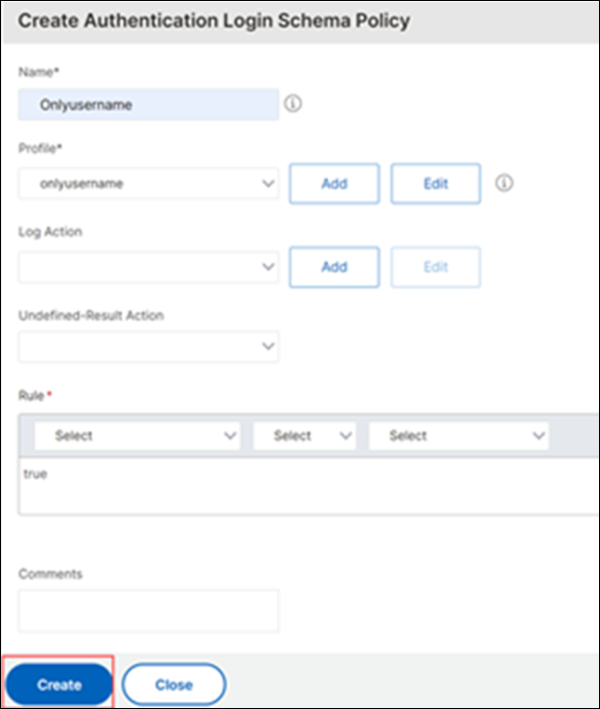
To add a profile, on the Create Authentication Login Schema Policy page, click Add next to the Profile field.
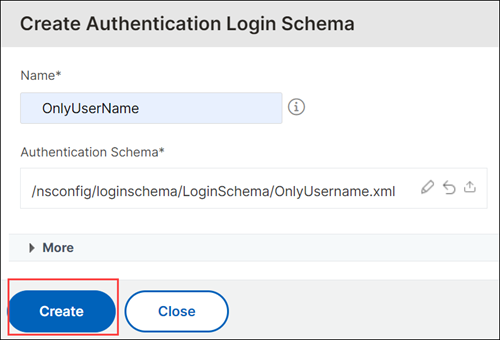
-
On the Create Authentication Login Schema page, select “OnlyUsername” as the login schema.
-
Click Create.
-
On the Create Authentication Login Schema Policy page, click Create. The authentication login schema policy and the authentication login schema are now created.
-
-
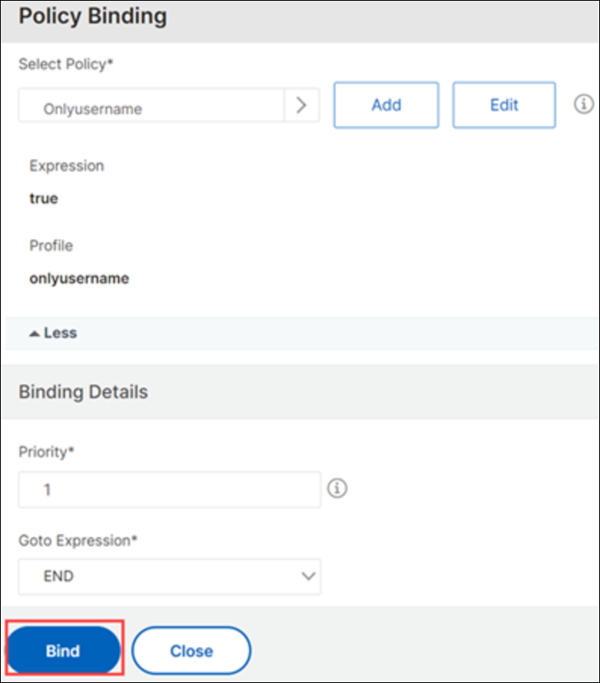
Bind the authentication login schema policy.
-
On the Policy Binding page, select the configured authentication login schema policy, configure the binding details, and click Bind.
-
-
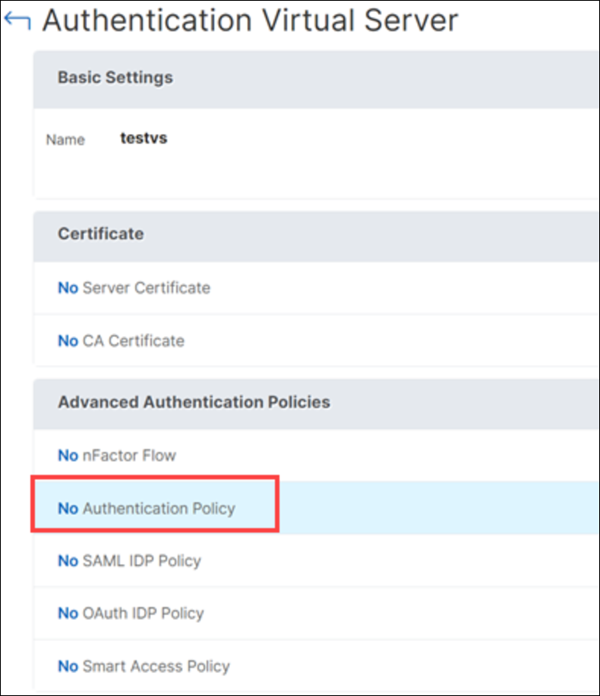
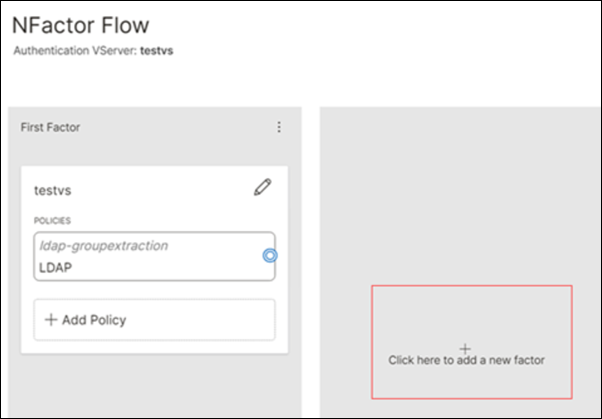
Create the first factor.
- On the Authentication Virtual Server page, navigate to the Advanced Authentication Policies section and select the authentication policy.
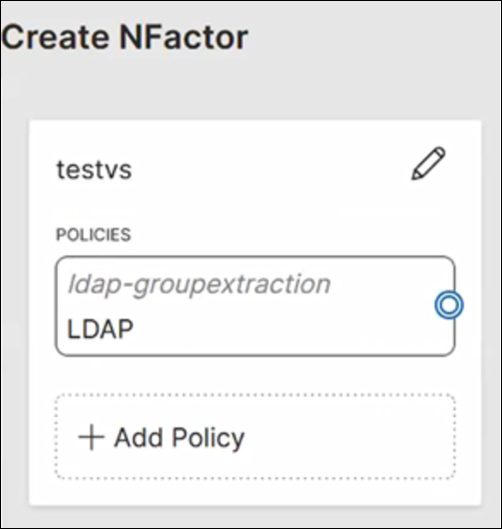
- On the Create NFactor page, configure the LDAP group extraction policy for the first factor.
-
Click + to add the second factor.
Note:
The second factor is for the pass-through. This means that there is no login schema for this factor. Configure 2 policies (LDAP and certificate policies) for 2 different user groups for authentication. If the rules configured for this policy are met, NetScaler® does not perform any authentication for this factor.
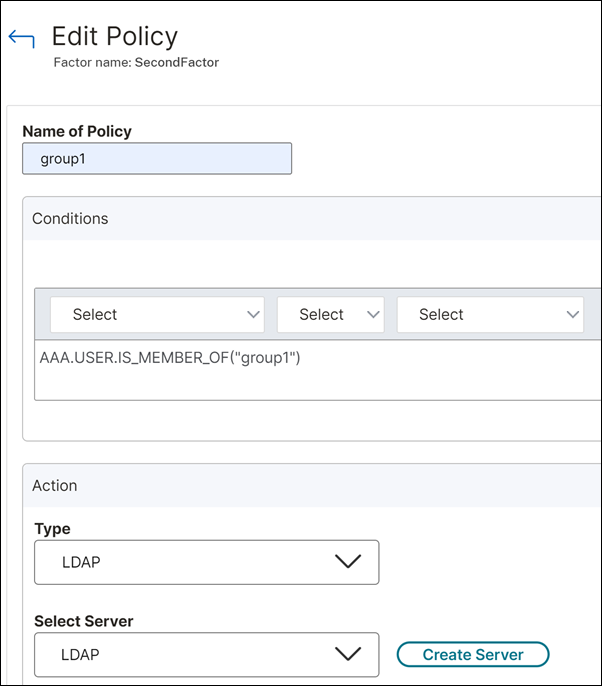
- Configure policies for different user groups. In this scenario, based on the groups extracted in the first factor, you can determine the second factor as LDAP or certificate-based authentication.
The following screenshot displays the policy expression and server details (LDAP) for “group1” users.
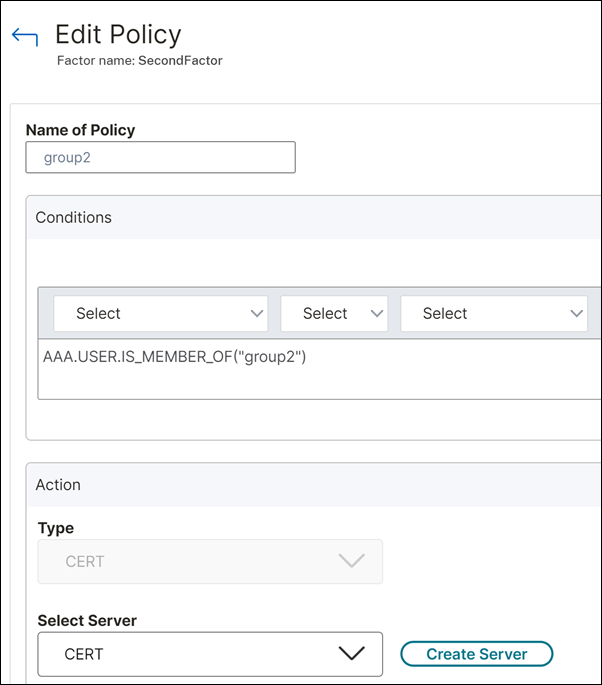
The following screenshot displays the policy expression and server details (certificate-based authentication) for “group2” users.
-
On the Configure Factor page, click Add.
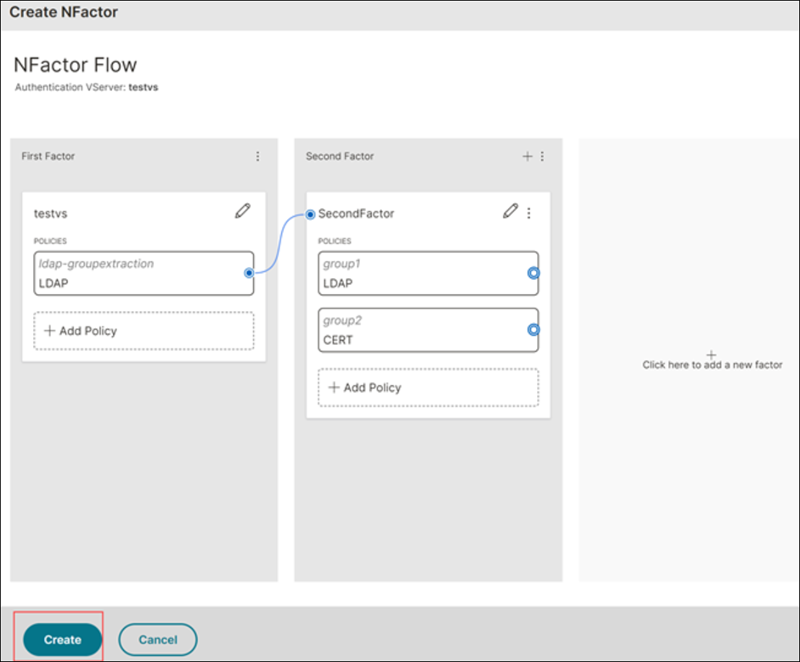
-
On the NFactor flow page, link the first and second factors using the blue dots and click Create.
-
Click Done.
Scenario 2: Domain drop-down list as the first factor followed by different policy evaluations based on the domain selection
In this scenario, admins can:
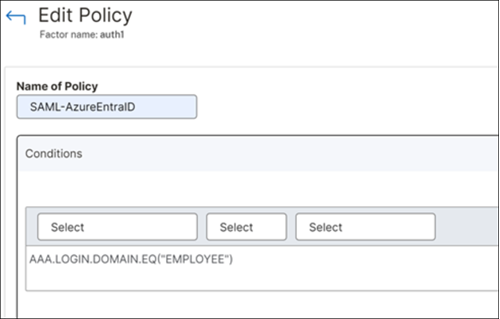
- Configure the Azure EntraID and AD credentials for users of domain-type Employee.
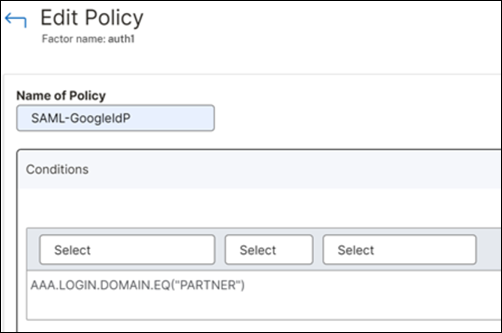
- Configure the Google IdP and AD credentials for users of domain-type Partner.
- Configure the Okta and AD credentials for users of domain-type Vendor.
On the latest visualizer:
-
Navigate to Security > AAA-Application traffic > Virtual Servers.
-
Select the authentication virtual server for the nFactor flow and then click Edit. In this scenario, “auth1” is the virtual server for which the nFactor flow is created.
-
Under Advanced Authentication Policies, select an authentication policy.
-
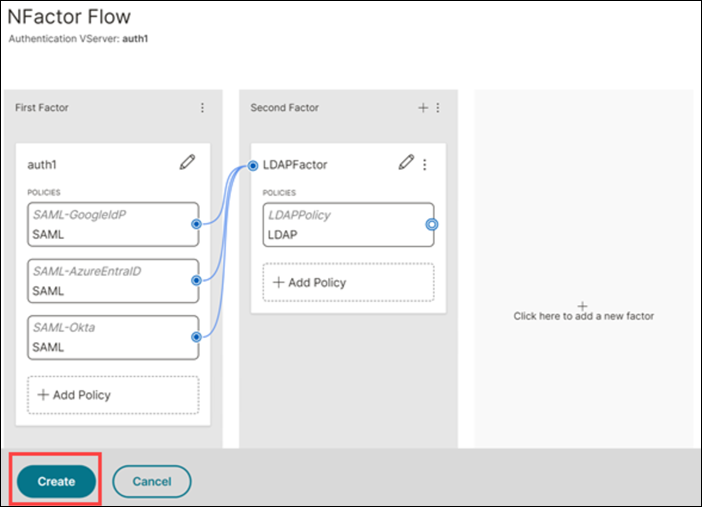
On the First Factor tile, configure SAML policies.
-
In this scenario, for the first factor, the policy expressions are configured for users of 3 different domains; Employee, Partner, and Vendor.

-
-
On the Second Factor tile, configure the login interface and click Add.
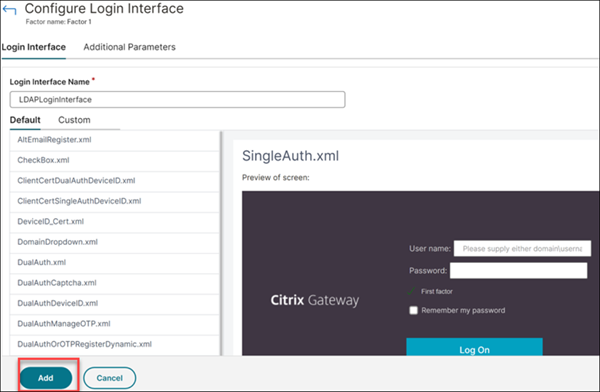
-
Configure the LDAP policy and click Add.
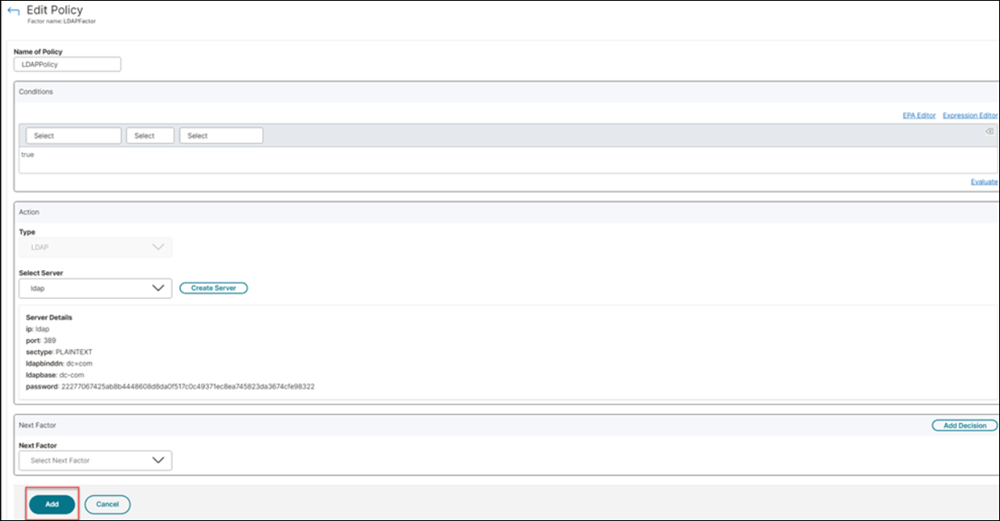
-
Link both the factor tiles and click Create.
In this article
- View the nFactor flow
- Scenario 1: LDAP group extraction as the first factor followed by LDAP or Client certificate authentication based on group membership as the second factor
- Scenario 2: Domain drop-down list as the first factor followed by different policy evaluations based on the domain selection