-
Configuring the VPN User Experience
-
How to Configure Full VPN Setup on a Citrix Gateway Appliance
-
AlwaysOn VPN before Windows logon (Formally AlwaysOn service)
-
Maintaining and Monitoring the System
-
Deploying with Citrix Endpoint Management, Citrix Virtual Apps, and Citrix Virtual Desktops
-
Accessing Citrix Virtual Apps and Desktops Resources with the Web Interface
-
Integrating Citrix Gateway with Citrix Virtual Apps and Desktops
-
Configuring Additional Web Interface Settings on Citrix Gateway
-
Configuring Access to Applications and Virtual Desktops in the Web Interface
-
-
Integrate Citrix Gateway with Citrix Virtual Apps and Desktops
-
Configuring Settings for Your Citrix Endpoint Management Environment
-
Configuring Load Balancing Servers for Citrix Endpoint Management
-
Configuring Load Balancing Servers for Microsoft Exchange with Email Security Filtering
-
Configuring Citrix Endpoint Management NetScaler Connector (XNC) ActiveSync Filtering
-
Allowing Access from Mobile Devices with Citrix Mobile Productivity Apps
-
Configuring Domain and Security Token Authentication for Citrix Endpoint Management
-
Configuring Client Certificate or Client Certificate and Domain Authentication
-
-
Citrix Gateway Enabled PCoIP Proxy Support for VMware Horizon View
-
Proxy Auto Configuration for Outbound Proxy support for Citrix Gateway
-
Integrate Citrix Gateway with Citrix Virtual Apps and Desktops
This content has been machine translated dynamically.
Dieser Inhalt ist eine maschinelle Übersetzung, die dynamisch erstellt wurde. (Haftungsausschluss)
Cet article a été traduit automatiquement de manière dynamique. (Clause de non responsabilité)
Este artículo lo ha traducido una máquina de forma dinámica. (Aviso legal)
此内容已经过机器动态翻译。 放弃
このコンテンツは動的に機械翻訳されています。免責事項
이 콘텐츠는 동적으로 기계 번역되었습니다. 책임 부인
Este texto foi traduzido automaticamente. (Aviso legal)
Questo contenuto è stato tradotto dinamicamente con traduzione automatica.(Esclusione di responsabilità))
This article has been machine translated.
Dieser Artikel wurde maschinell übersetzt. (Haftungsausschluss)
Ce article a été traduit automatiquement. (Clause de non responsabilité)
Este artículo ha sido traducido automáticamente. (Aviso legal)
この記事は機械翻訳されています.免責事項
이 기사는 기계 번역되었습니다.책임 부인
Este artigo foi traduzido automaticamente.(Aviso legal)
这篇文章已经过机器翻译.放弃
Questo articolo è stato tradotto automaticamente.(Esclusione di responsabilità))
Translation failed!
Configuring Domain and Security Token Authentication for Citrix Endpoint Management
You can configure Citrix Endpoint Management to require users to authenticate with their LDAP credentials plus a one-time password, using the RADIUS protocol. This section describes the required Citrix Gateway configuration for that two-factor authentication type.
Prerequisites
If you have not already run the Citrix ADC for Citrix Endpoint Management wizard, see the Citrix ADC for Citrix Endpoint Management Wizard section in Configuring Settings for Your Citrix Endpoint Management Environment. Make sure that your Citrix ADC configuration includes the following:
- LDAP port number = 636 (which is the default port for secure LDAP connections)
- Server Logon Name Attribute = samAccountName or the userPrincipalName as per your requirements
To configure domain and security token authentication
-
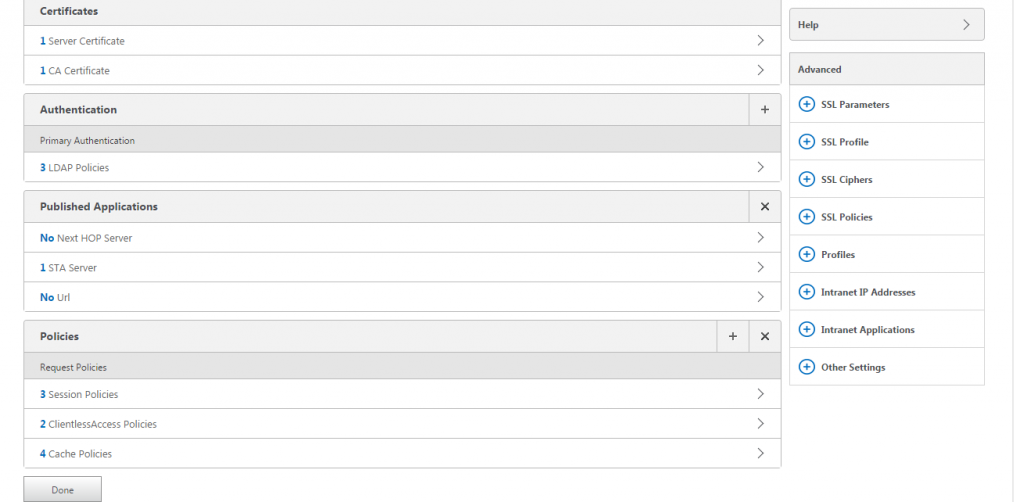
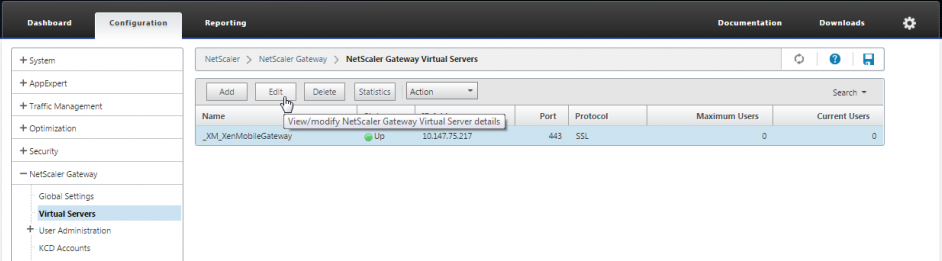
Go to Citrix Gateway > Virtual Servers. Select the virtual server and then click Edit.
-
Click No CA Certificate.
-
From Select CA Certificate, choose a certificate, click OK, click Bind, and then click Done.
-
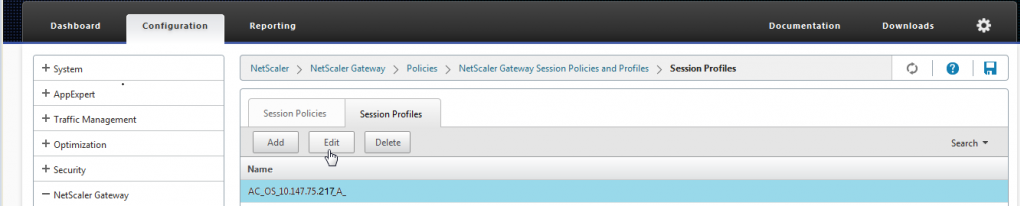
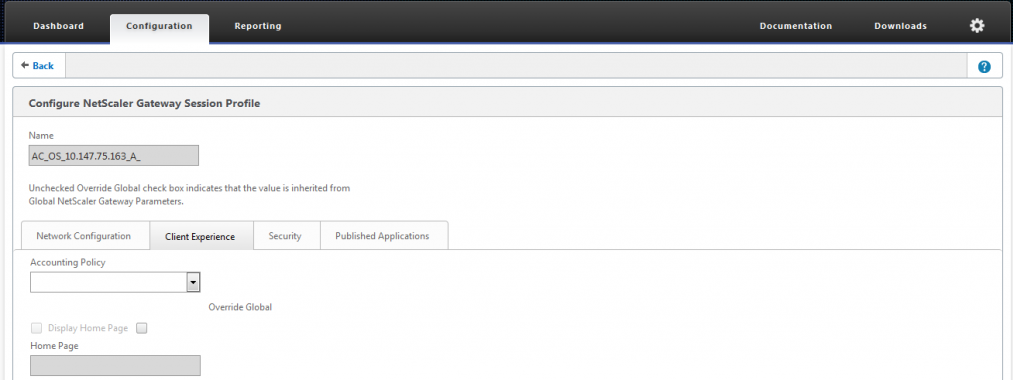
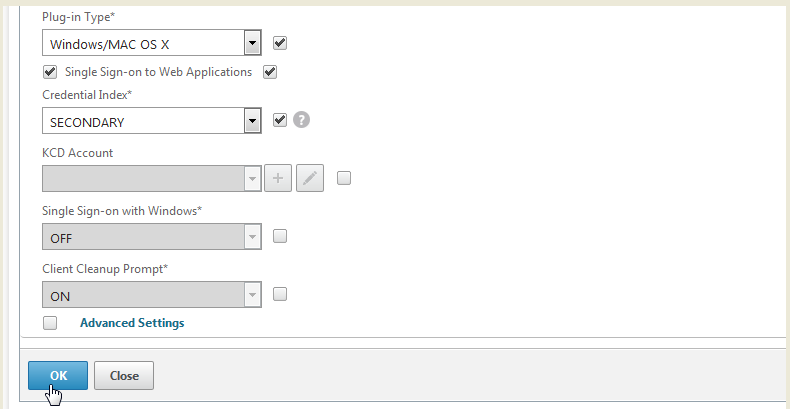
Go to Policies > Session > Session Profiles, select the profile which starts with AC_OS, and click Edit.
-
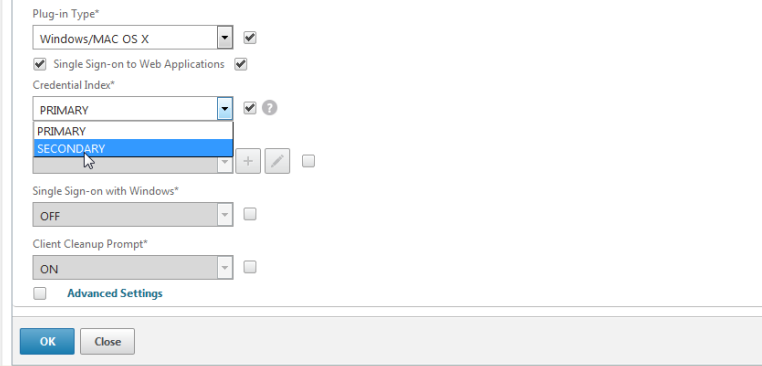
Click the Client Experience tab and go to the bottom of the page.
-
From Credential Index, choose SECONDARY.
-
Click OK.
-
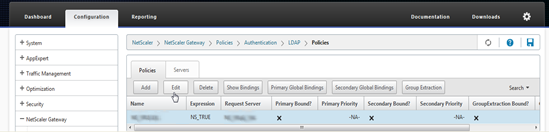
Go to Policies > Authentication > LDAP, click the LDAP Policy tab, and click Edit.
-
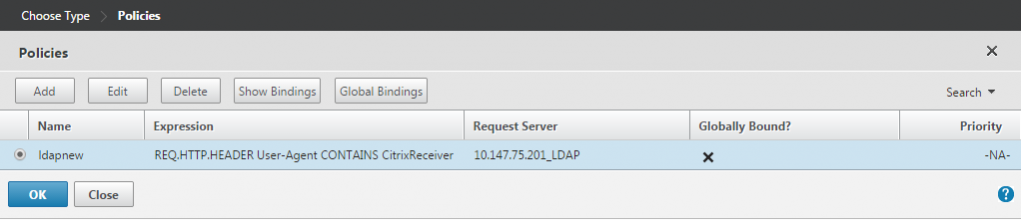
To use separate Citrix Gateway VIPs for Citrix Endpoint Management and Citrix Virtual Apps and Desktops, in Expression, replace NS_TRUE with the following:
REQ.HTTP.HEADER User-Agent CONTAINS
CitrixReceiver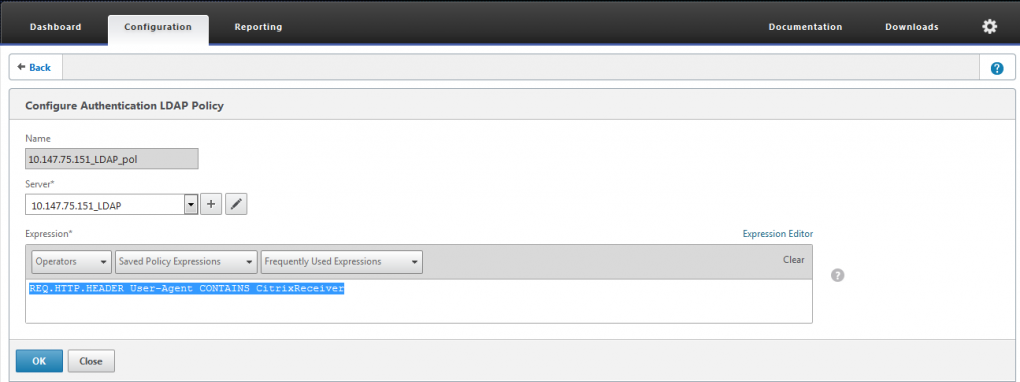
-
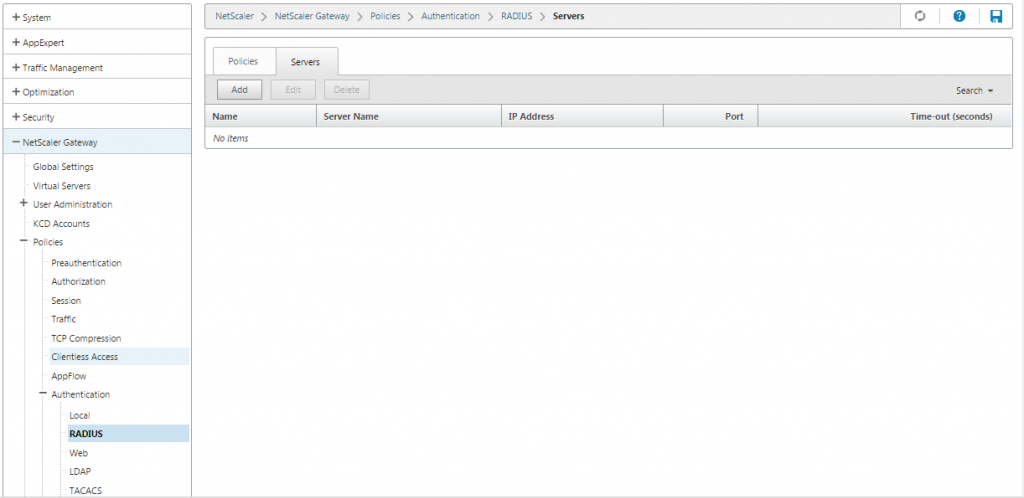
Go to Policies > Authentication > RADIUS and then click the Servers tab.
-
Click Add, enter the RADIUS server details, and click Create.

-
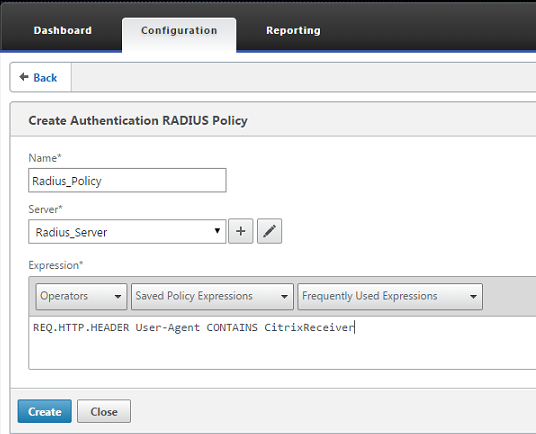
Go to Policies and then click Add.

-
Enter a Name for the policy. From the Server drop-down menu, select the RADIUS server name (Radius_Server in our example).
-
For Expression, enter REQ.HTTP.HEADER User-Agent CONTAINS CitrixReceiver and click Create.
-
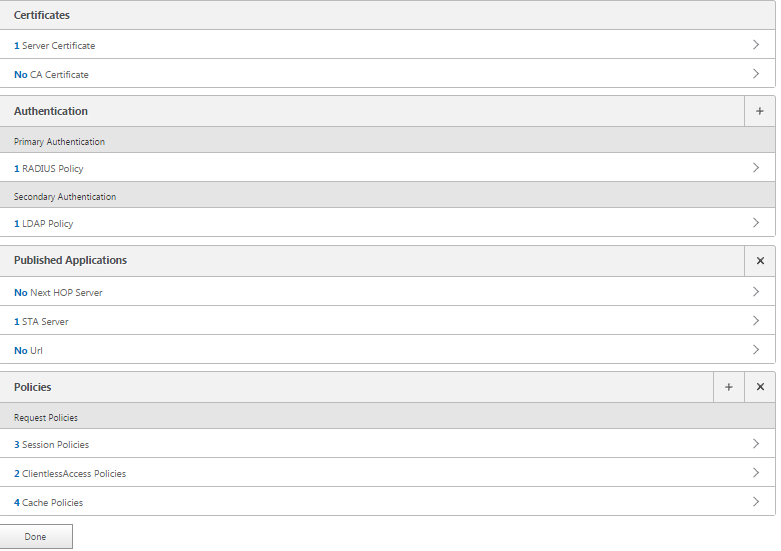
Select the virtual server and then click Edit.
-
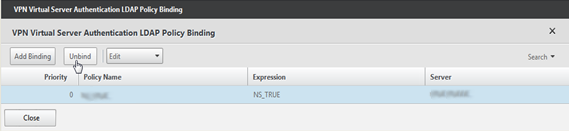
Under Primary Authentication, click LDAP Policy.

-
Select the policy, click Unbind, and click Close.
-
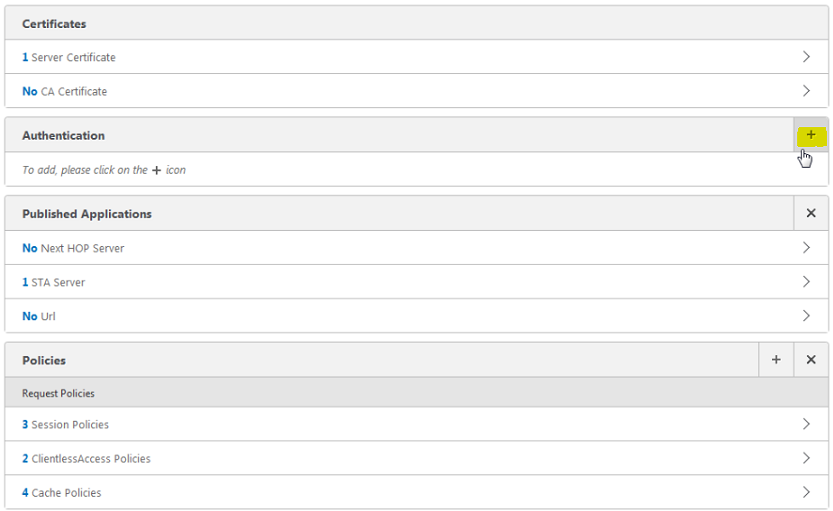
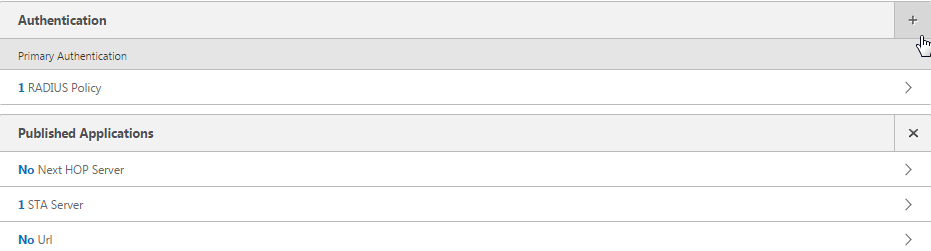
On the Authentication row, click + to add the RADIUS authentication.
-
Under Choose Type, from Choose Policy, select RADIUS.
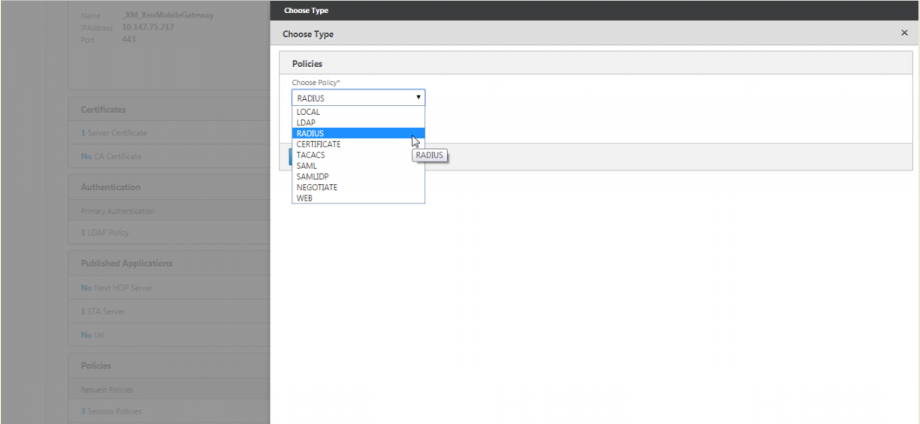
-
Click Bind.
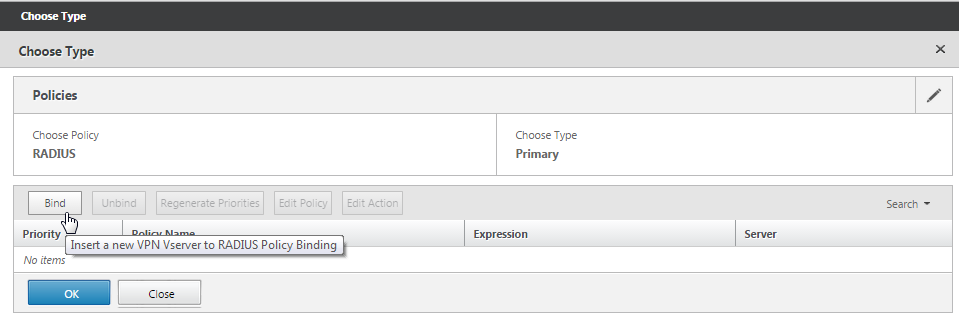
-
Select the RADIUS authentication policy you created earlier and then click Insert.

-
Click OK.
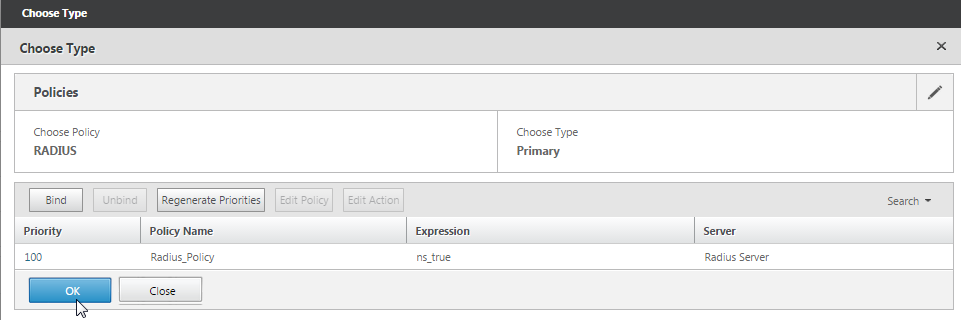
-
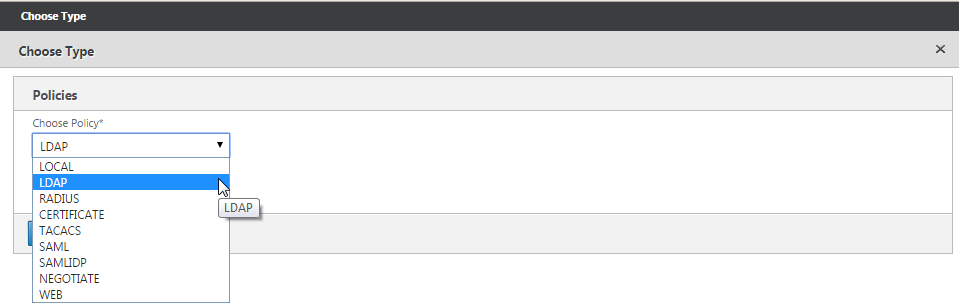
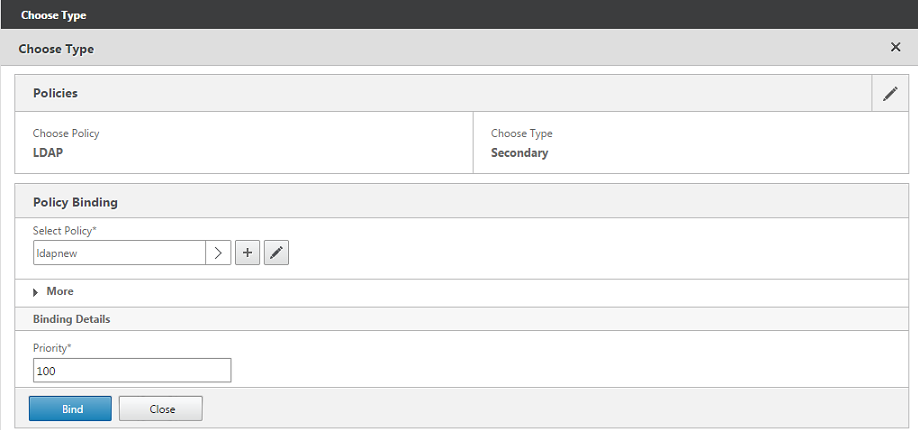
To add LDAP as the secondary authentication policy: On the Authentication row, click +.
-
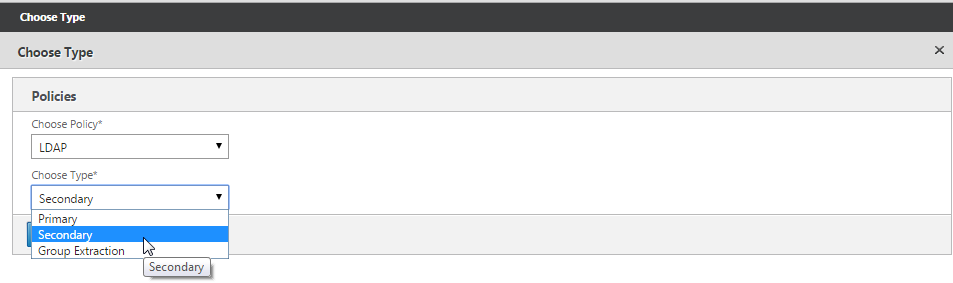
From Choose Policy, choose LDAP.
-
From Choose Type, choose Secondary.
-
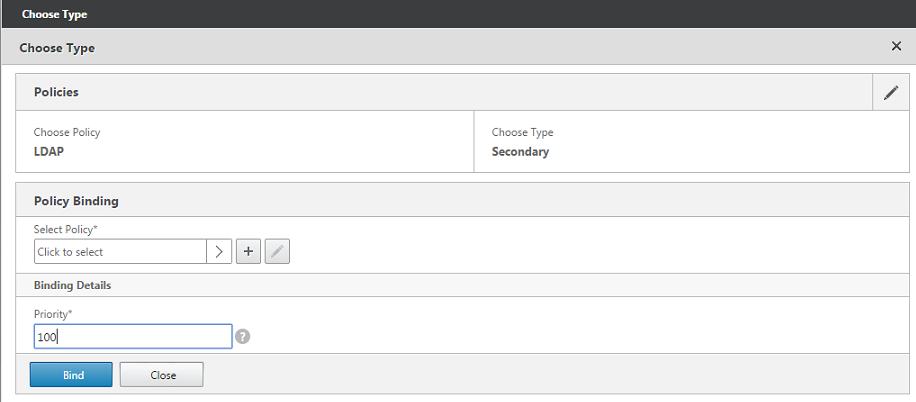
From Select Policy, choose the LDAP policy.
-
Select the policy and then click OK.
-
Click Bind.
-
Click Done.
-
Verify that the policies you created have the highest priority. This ensures that they have the highest priority even if more policies get added for non-mobile users. For more information, see Setting Priorities for Authentication Policies
This Preview product documentation is Cloud Software Group Confidential.
You agree to hold this documentation confidential pursuant to the terms of your Cloud Software Group Beta/Tech Preview Agreement.
The development, release and timing of any features or functionality described in the Preview documentation remains at our sole discretion and are subject to change without notice or consultation.
The documentation is for informational purposes only and is not a commitment, promise or legal obligation to deliver any material, code or functionality and should not be relied upon in making Cloud Software Group product purchase decisions.
If you do not agree, select I DO NOT AGREE to exit.