Install and configure Citrix SD-WAN™ Center on Microsoft Hyper-V
Before installing the Citrix SD-WAN Center virtual machine (VM) on the Microsoft Hyper-V server, gather the necessary information as described in System requirements and installation.
Download the SD-WAN Center software for Hyper-V, as described in Downloading the Citrix SD-WAN Center Software section of System requirements and installation.
Ensure that the Hyper-V feature and management tool are enabled on your Windows server.
To create the SD-WAN Center VM on Hyper-V server:
-
On the Hyper-V Manager, right-click the Hyper-V server and select New > Virtual Machine.
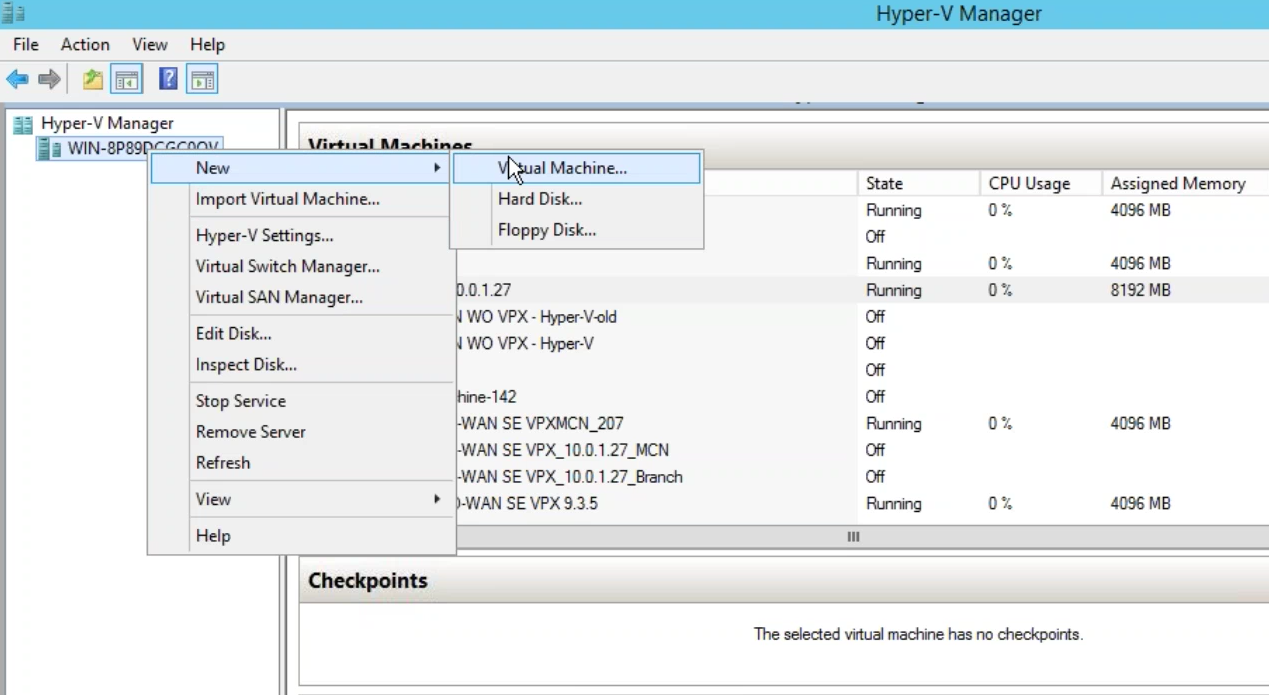
The New Virtual Machine Wizard appears. Click Next.
-
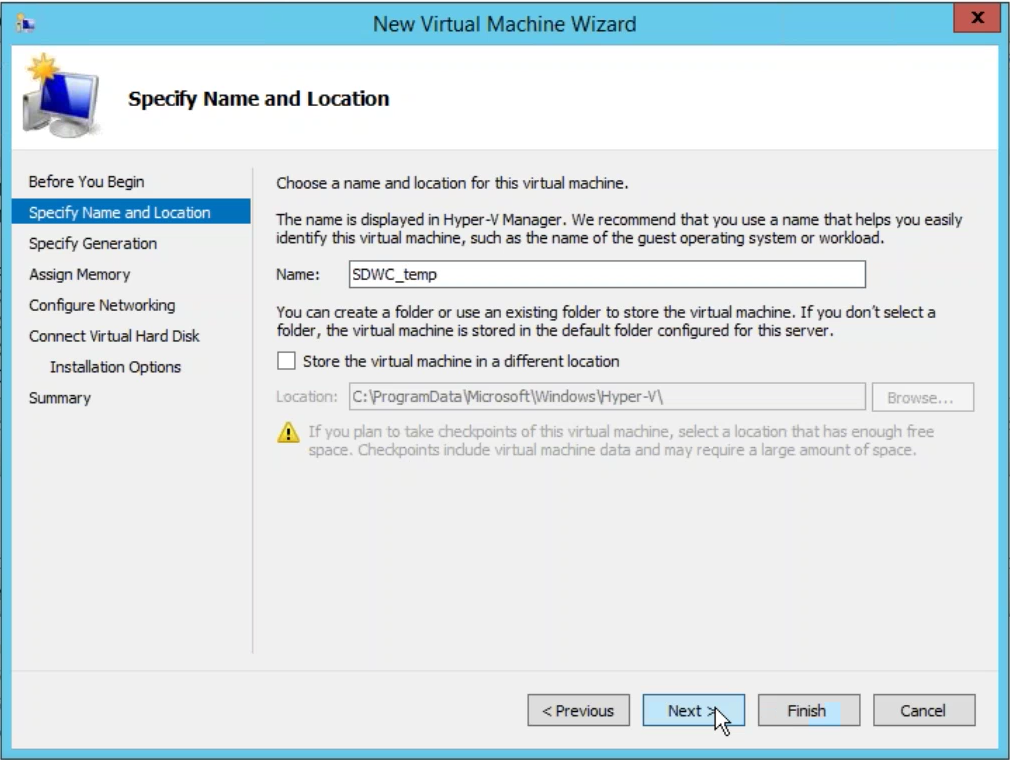
Specify a name for your SD-WAN center VM and change the VM storage location, if necessary. Click Next.
-
Choose the required, VM generation. Click Next.
-
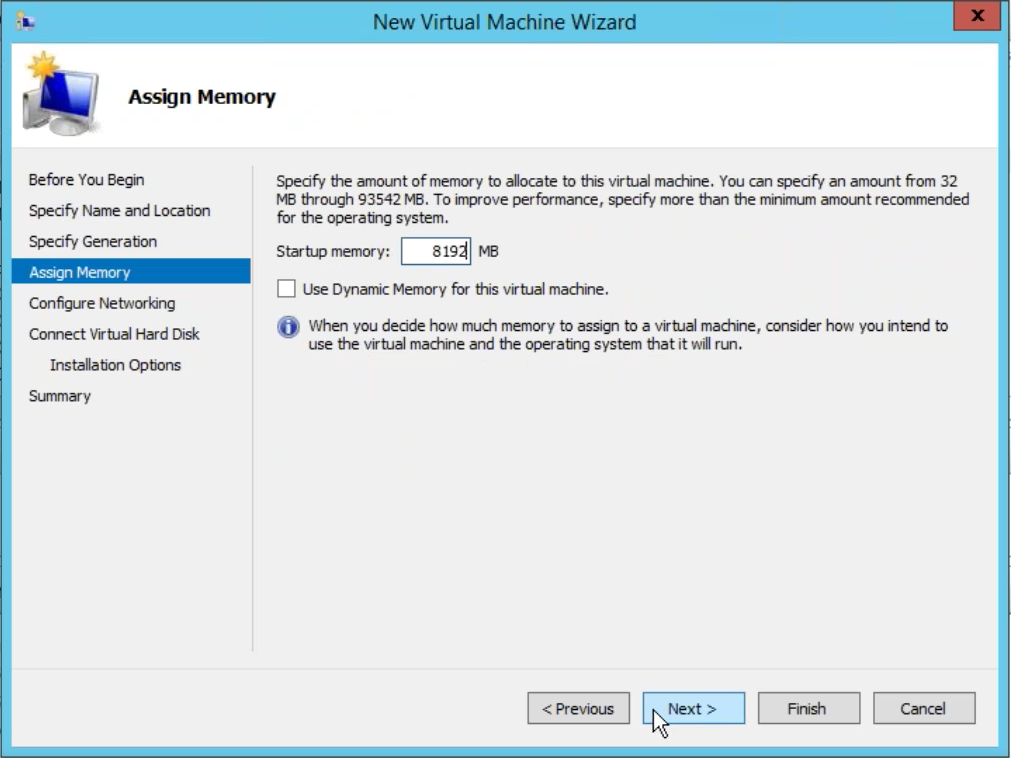
Assign a memory of 8 GB for the VM. Click Next.
Note
The Citrix SD-WAN Center VM requires a minimum of 8 GB memory to manage up to 64 sites. For more information on memory to the number of sites mapping, see System requirements and installation.
-
Choose the Virtual switch to be used by the VM’s network adapter, Click Next.
-
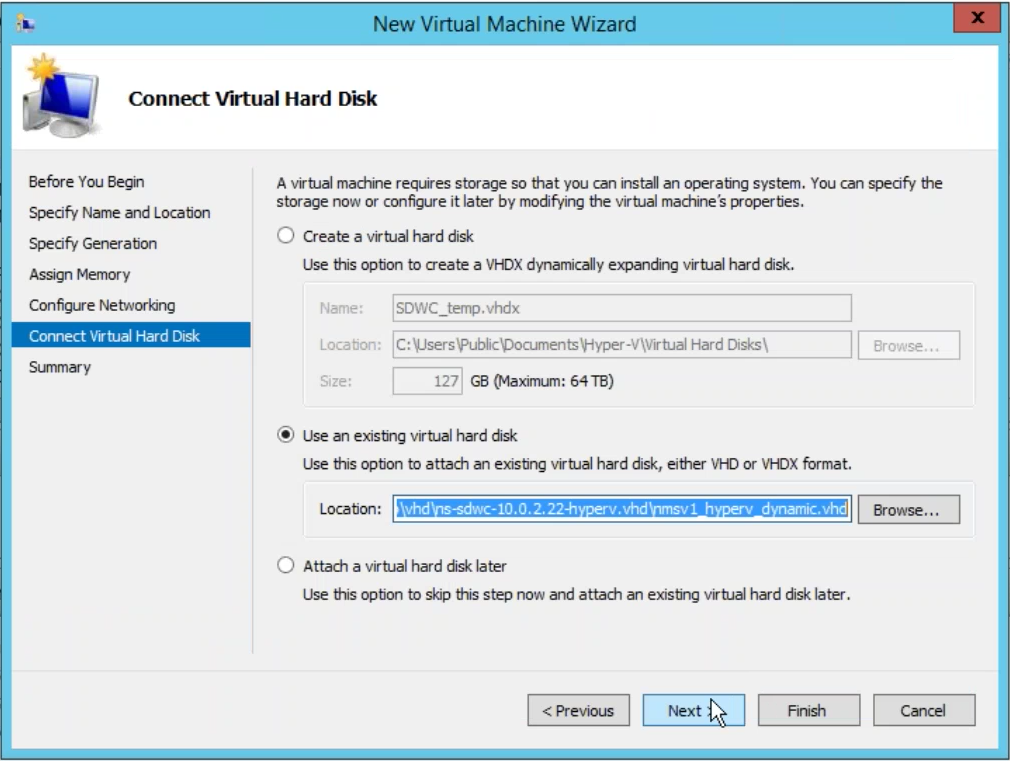
Select Use an existing virtual hard disk, browse, and select the SD-WAN Center VHD file that you downloaded. Click Next.
-
Review the VM summary and change the settings if necessary, else click Finish. The SD-WAN Center VM is created and is listed in the Virtual Machines section.
-
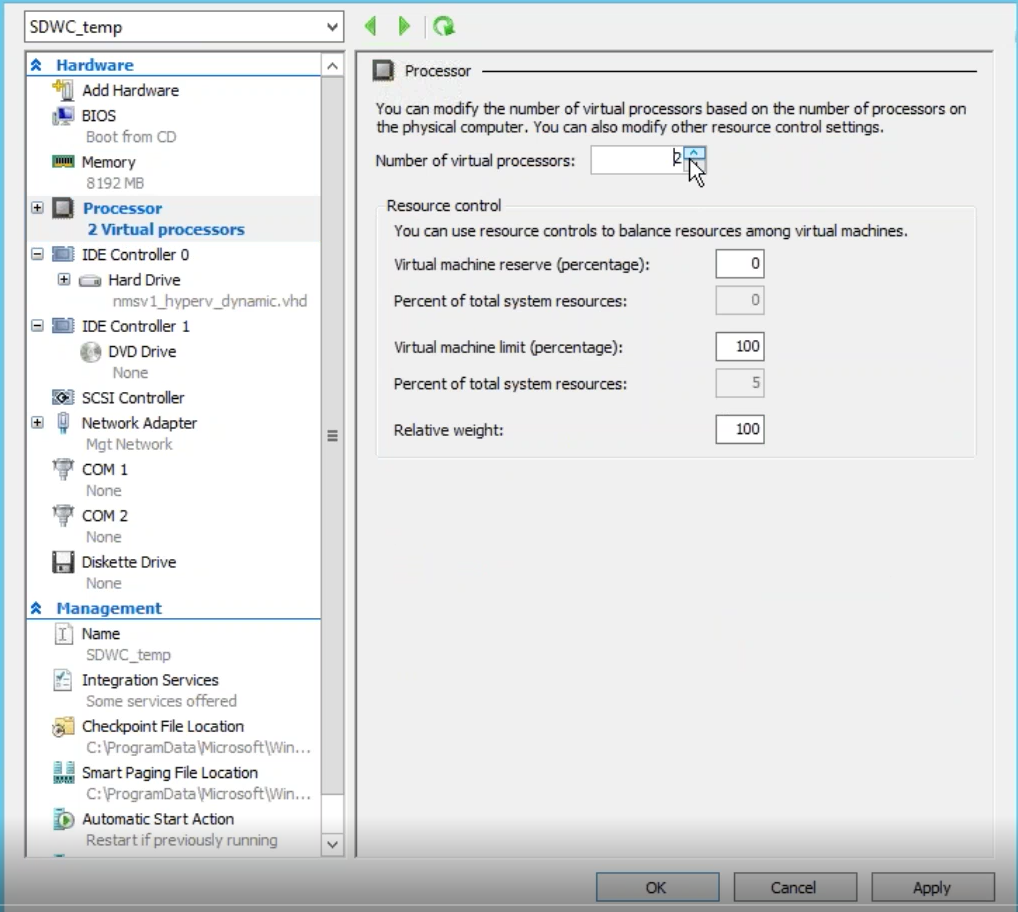
Right-click the SD-WAN Center VM and select Settings. Set the number of virtual processors to four and click Apply.
-
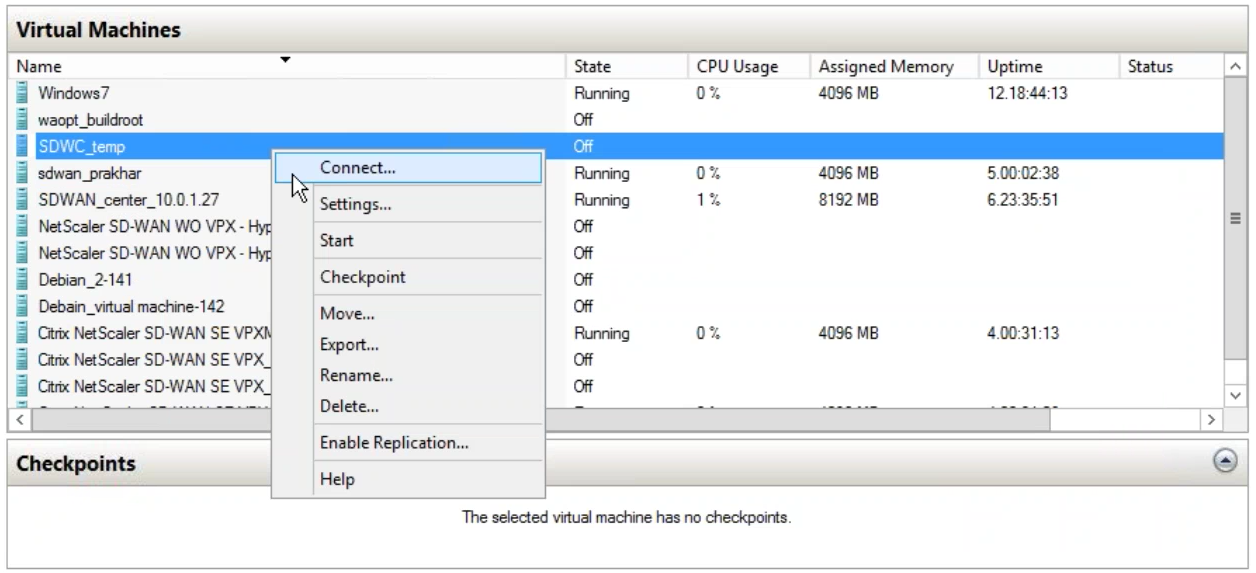
Right-click the SD-WAN Center VM and click Connect.
-
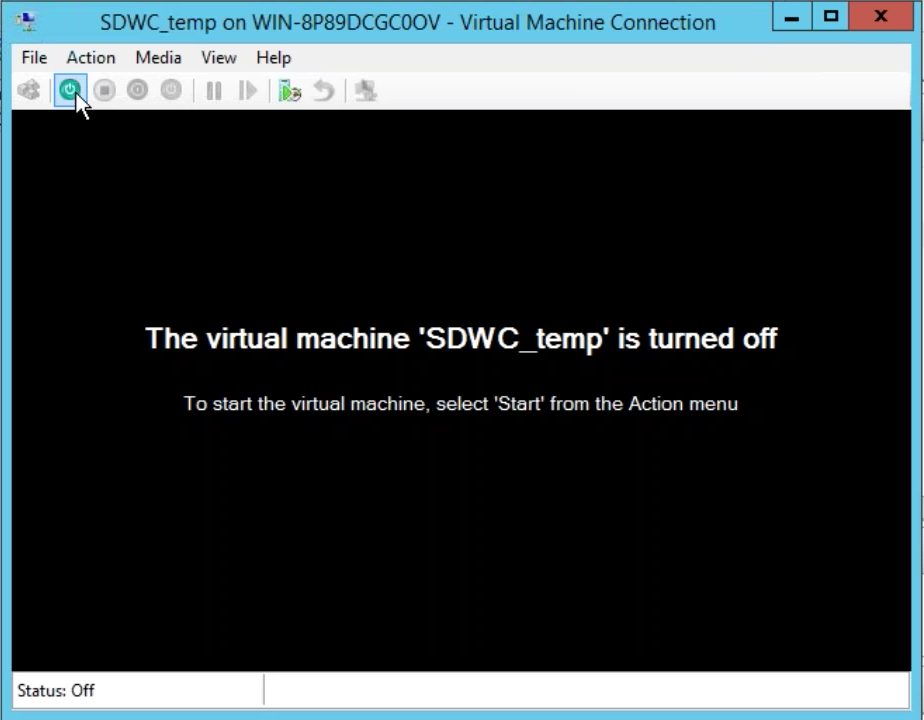
Click the Start button.
Note
The initial installation may take up to 50 min, depending on the number of CPUs and RAM that you have configured.
-
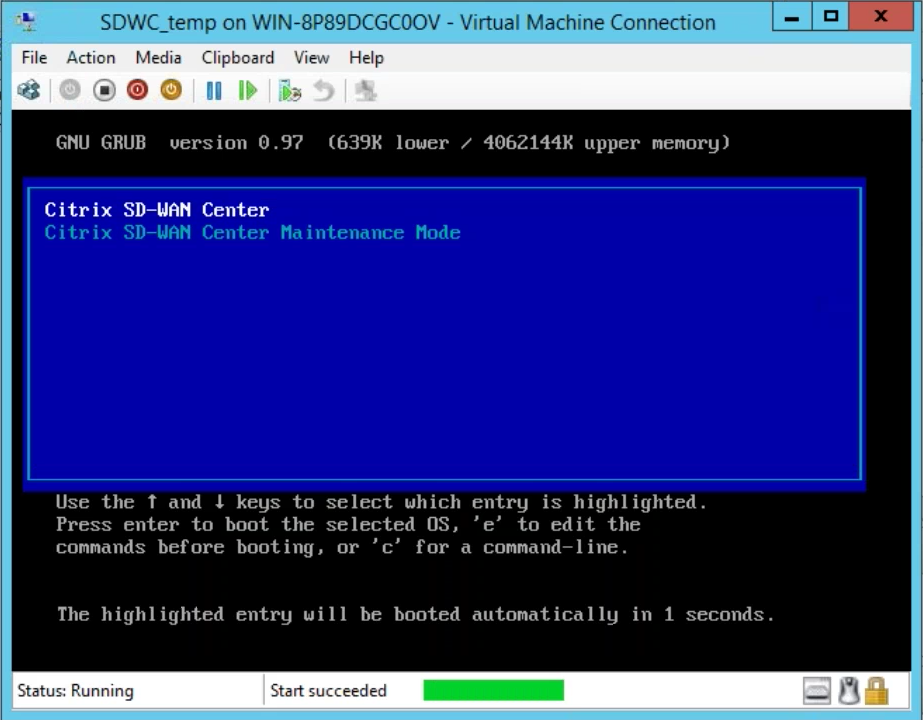
Once the VM is started, selected Citrix SD-WAN Center and hit enter.
-
Log into the VM. The default login credentials for the new SD-WAN Center VM are as follows:
Login: admin
Password: password
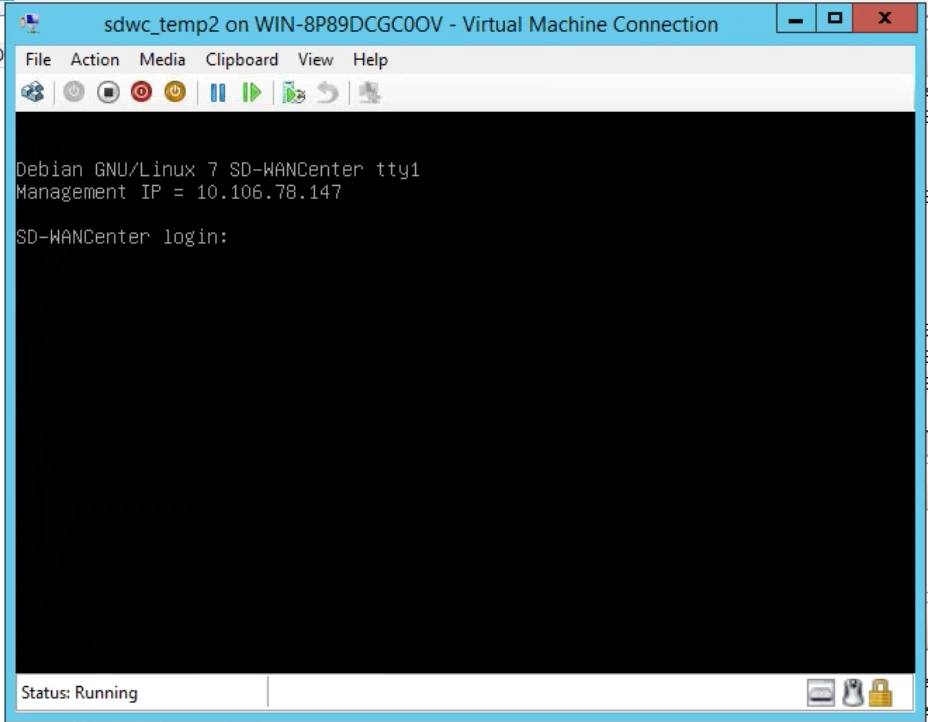
The management IP address is displayed in the console use this IP to access the SD-WAN Center web interface.
Note
If DHCP is not configured in the SD-WAN network, you have to enter a static IP address manually.
To configure a static IP address as the management IP address:
-
Log into the VM. The default login credentials for the new SD-WAN Center VM are as follows:
Login: admin
Password: password
-
In the console, enter the CLI command management_ip.
-
Enter the command set interface <ipaddress> <subnetmask> <gateway>, to configure the management IP.
Use the management IP to access the Citrix SD-WAN Center web interface.