-
-
Install NetScaler agent on Microsoft Azure Cloud
-
Install NetScaler agent operator using the OpenShift console
-
Low-touch onboarding of NetScaler instances using Console Advisory Connect
This content has been machine translated dynamically.
Dieser Inhalt ist eine maschinelle Übersetzung, die dynamisch erstellt wurde. (Haftungsausschluss)
Cet article a été traduit automatiquement de manière dynamique. (Clause de non responsabilité)
Este artículo lo ha traducido una máquina de forma dinámica. (Aviso legal)
此内容已经过机器动态翻译。 放弃
このコンテンツは動的に機械翻訳されています。免責事項
이 콘텐츠는 동적으로 기계 번역되었습니다. 책임 부인
Este texto foi traduzido automaticamente. (Aviso legal)
Questo contenuto è stato tradotto dinamicamente con traduzione automatica.(Esclusione di responsabilità))
This article has been machine translated.
Dieser Artikel wurde maschinell übersetzt. (Haftungsausschluss)
Ce article a été traduit automatiquement. (Clause de non responsabilité)
Este artículo ha sido traducido automáticamente. (Aviso legal)
この記事は機械翻訳されています.免責事項
이 기사는 기계 번역되었습니다.책임 부인
Este artigo foi traduzido automaticamente.(Aviso legal)
这篇文章已经过机器翻译.放弃
Questo articolo è stato tradotto automaticamente.(Esclusione di responsabilità))
Translation failed!
Install a NetScaler agent on Microsoft Azure cloud
The agent works as an intermediary between the NetScaler Console and the managed instances in the enterprise data center, or on the cloud.
To install the NetScaler agent on the Microsoft Azure cloud, you have to create an instance of the agent in the virtual network. Obtain the NetScaler agent image from the Azure Marketplace, and then use the Azure Resource Manager portal to create the agent.
Before you begin creating the NetScaler agent instance, make sure that you have created a virtual network with the required subnets where the instance resides. You can create virtual networks during VM provisioning, but without the flexibility to create different subnets. For information, see Azure documentation.
Configure DNS server and VPN connectivity that allows a virtual machine to access Internet resources.
Prerequisites
Make sure that you have the following:
- A Microsoft Azure user account
- Access to Microsoft Azure Resource Manager
Notes
- We recommend that you create resource group, network security group, virtual network, and other entities before you provision the NetScaler agent virtual machine, so that the network information is available during provisioning.
- For the NetScaler agent to communicate with NetScaler Console and the NetScaler instances, ensure that the recommended ports are open. For complete details about the port requirements for the NetScaler agent, see Ports.
To install the NetScaler agent on Microsoft Azure Cloud:
-
Log on to the Azure portal (https://portal.azure.com) by using your Microsoft Azure credentials.
-
Click +Create a resource.
-
Type
NetScaler agentin the search bar and select NetScaler agent.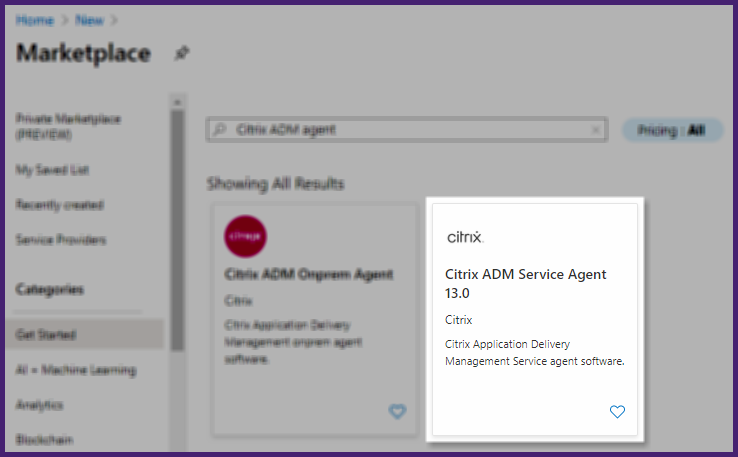
-
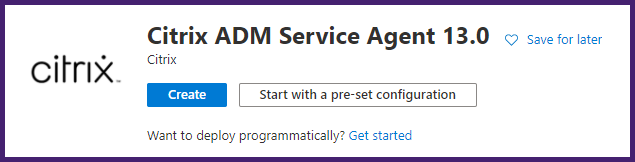
Click Create.
-
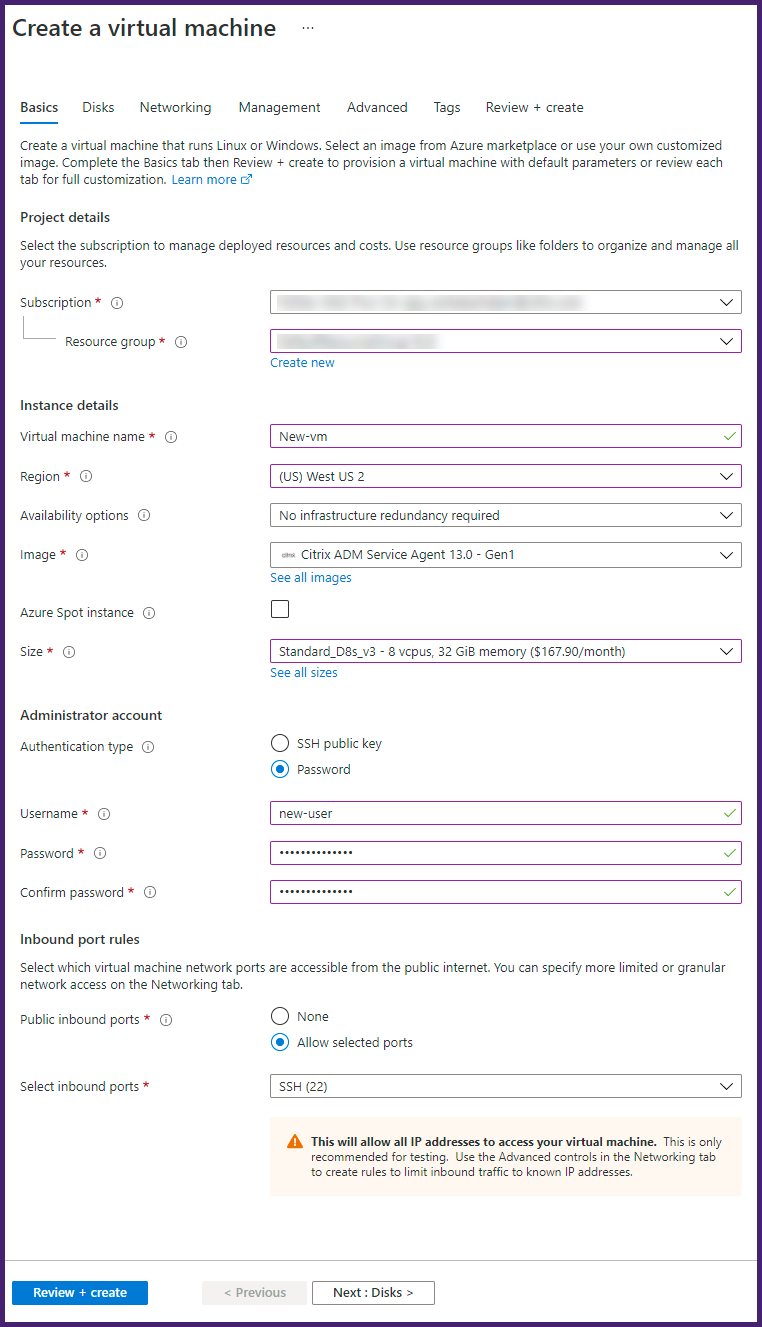
In the Create virtual machine pane, specify the required values in each section to create a virtual machine.
Basics:
In this tab, specify Project details, Instance details, and Administrator account.
-
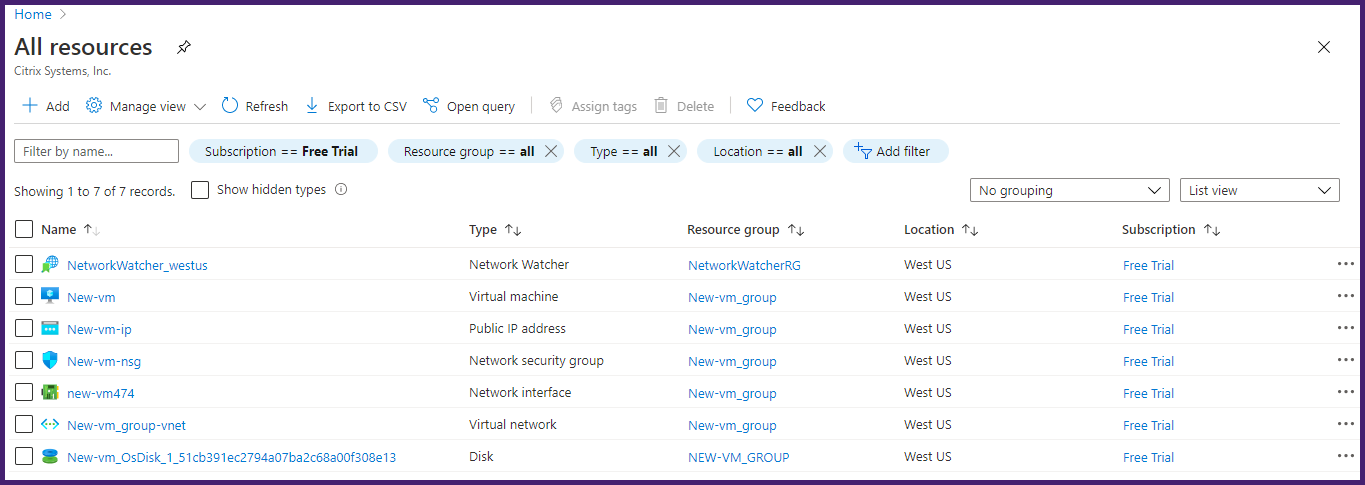
Resource group – Select the resource group that you have created from the drop-down list.
Note
You can create a resource group at this point, but we recommend that you create a resource group from Resource groups in the Azure Resource Manager and then select the group from the drop-down list.
-
Virtual machine name – Specify a name for the NetScaler agent instance.
-
Region - Select the region where you want to deploy an agent.
-
Availability options – Select the availability set from the list.
-
Image - This field displays the already selected agent image. If you want to change to a different agent image, select the required image from the list.
-
Size - Specify the type and size of the virtual disk for deploying your NetScaler agent.
Select the Supported virtual disk type (HDD or SSD) from the list.
For more information about supported virtual disk sizes, see Agent installation requirements and Lightweight agent for pooled licensing.
-
Authentication Type – Select Password.
-
Username and Password – Specify a username and password to access the resources in the resource group that you have created.
Important
- We recommend you specify your own username and password for your agent. Do not use
nsrecoverornsrootas the username because they are reserved for agent users. - During provisioning, set a username that is not
nsrootornsrecover. However, the first login after provisioning must usensrecoveras the username .
- We recommend you specify your own username and password for your agent. Do not use
Disks:
In this tab, specify Disk options and Data disks.

- OS disk type - Select the virtual disk type (HDD or SSD).
Networking:
Specify the required networking details:
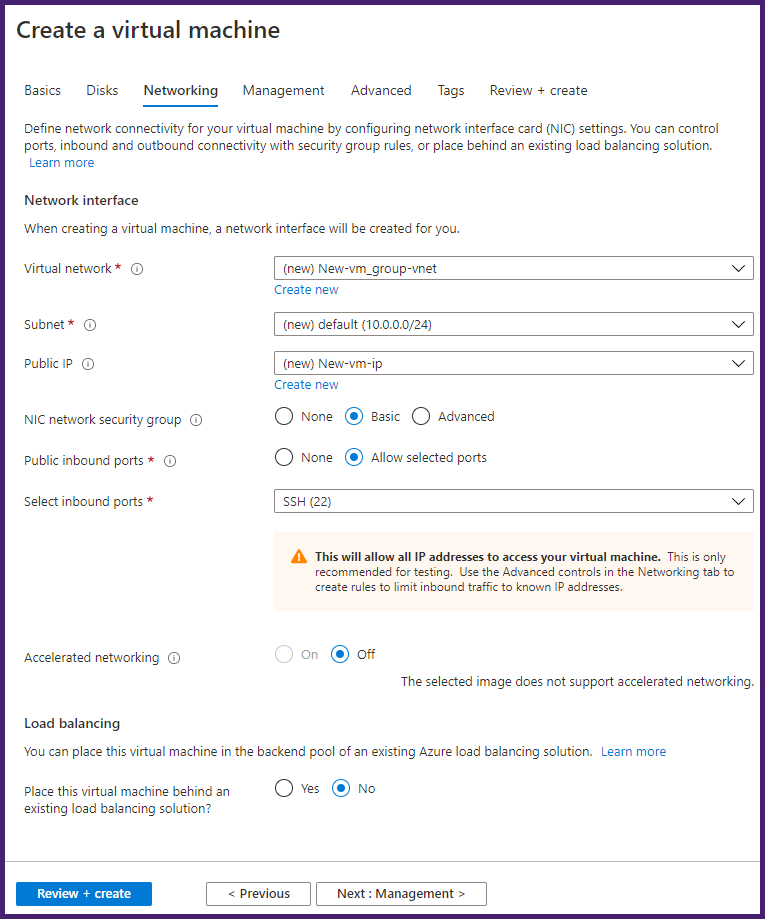
- Virtual network – Select the virtual network.
- Subnet – Set the subnet address.
- Public IP address - Optional, select the IP address.
- Network security group – Optional, select the security group that you have created.
- Select inbound ports - If you allow public inbound ports, ensure the inbound and outbound rules are configured in the security group. Then, select the inbound ports from the list. For more details, see Prerequisites.
Note
Ensure that agent has Internet access.
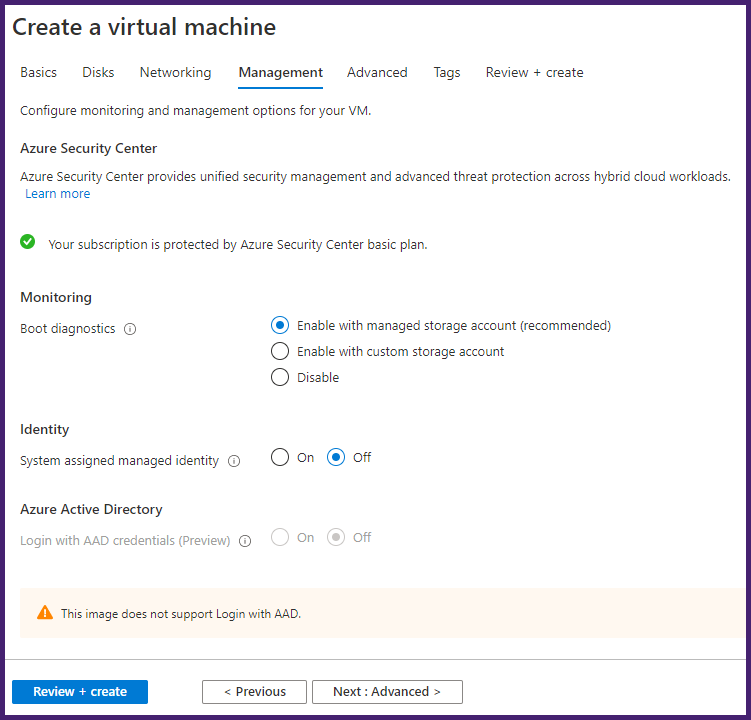
Management:
Specify Azure Security Center, Monitoring, and Identity.
Advanced:
Optional, specify Extensions, Custom Data, and Proximity placement group.
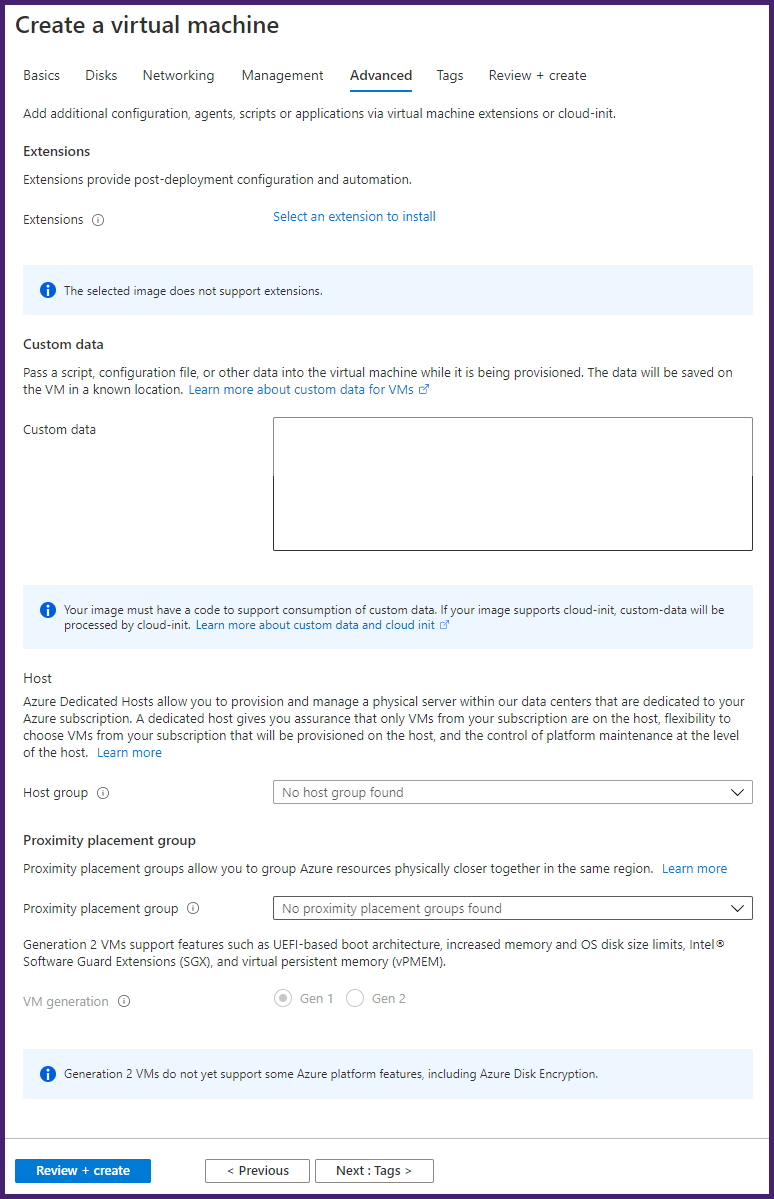
Note
In Custom Data, specify the Service-URL and Activation code that you copied from the Set Up Agents page in NetScaler Console as instructed in Getting Started. Enter the details in the following format:
registeragent -serviceurl <apigatewayurl> -activationcode <activationcodevalue>
<!--NeedCopy-->
Agent uses this information to auto-register with the NetScaler Console during boot-up.
If you specify this auto-registration script, skip step 7 and 8.
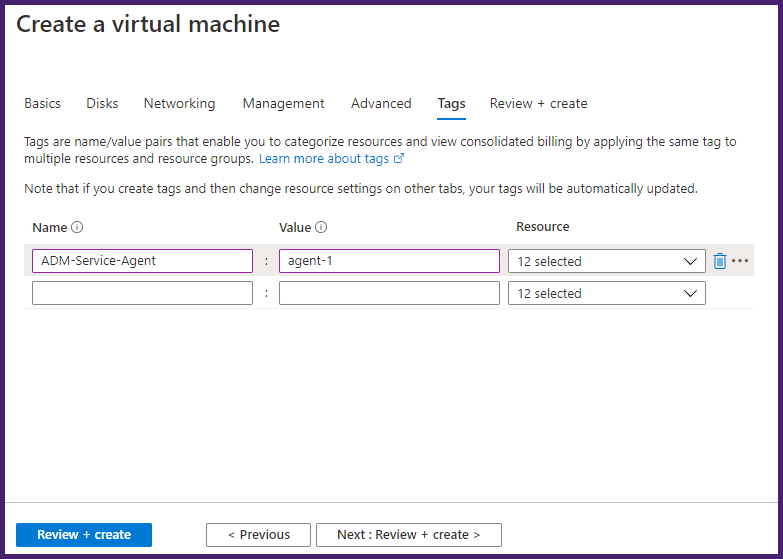
Tags:
Type the key-value pair for the NetScaler agent tags. A tag consists of a case-sensitive key-value pair. These tags enable you to organize and identify the agent easily. The tags are applied to both Azure and NetScaler Console.
The configuration settings are validated and the Review and create tab displays the result of the validation.
- If the validation fails, this tab displays the reason for the failure. Go back to the particular section and make changes as required.
-
If the validation passes, click Create. The agent deployment process begins.
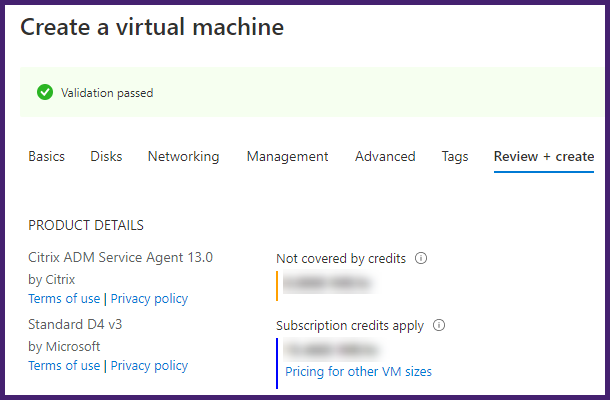
The deployment process might take approximately 10–15 minutes. Once the deployment is successfully completed, you can view your NetScaler agent virtual machine in your Microsoft Azure account.
-
Resource group – Select the resource group that you have created from the drop-down list.
-
Once the agent is up and running, use an SSH client to log on to your NetScaler agent. Use the username and password that was specified during the virtual machine creation.
-
Run the deployment script by typing the command at the shell prompt: deployment_type.py.
-
Enter the Service-URL and the Activation code that you copied and saved from the Set Up Agents page in NetScaler Console as instructed in Getting Started. The agent uses the service URL to locate the service and the activation code to register with the service.

After agent registration is successful, the agent restarts to complete the installation process.
After the agent has restarted, access NetScaler Console and on the Set Up Agent page, under Discovered Agents, verify the status of the agent.
Share
Share
In this article
This Preview product documentation is Cloud Software Group Confidential.
You agree to hold this documentation confidential pursuant to the terms of your Cloud Software Group Beta/Tech Preview Agreement.
The development, release and timing of any features or functionality described in the Preview documentation remains at our sole discretion and are subject to change without notice or consultation.
The documentation is for informational purposes only and is not a commitment, promise or legal obligation to deliver any material, code or functionality and should not be relied upon in making Cloud Software Group product purchase decisions.
If you do not agree, select I DO NOT AGREE to exit.