
Centralized GeoIP DB Updates through NetScaler® Console
NetScaler Console allows administrators to upload the GeoIP DB (Geolocation Database) file from MaxMind directly through the NetScaler Console. You can either push the GeoIP DB file immediately to managed NetScaler instances or schedule the update for a later time. These files are essential for accurate IP-to-location mapping, commonly used in GSLB and security policies.
With this enhancement you also get update history tracking, which allows you to view whether an update was successful or failed. Also, you can view, delete, or download previously uploaded or pushed GeoIP DB versions from NetScaler Console. This enhancement also introduces manual update of GeoIP DB file in NetScaler Console, version control, and automated update workflows, allowing seamless GeoIP DB updates without impacting GSLB services.
Previously, NetScaler did not have a centralized mechanism for managing GeoIP DB updates on NetScaler. Administrators had to perform the updates manually on each device, which was time-consuming, error-prone, and disruptive in production environments.
This enhancement provides the following benefits:
-
Automation: The update process is automated and performed without scheduled downtime and therefore reduces operational overhead.
-
Effective scalability: Managing updates across multiple NetScaler instances is efficient and easy to scale.
-
Version control: If an issue arises, you can track the historical versions, upload, and sync an older GeoIP DB file.
Limitations
-
Format Conversion Support Limited to MaxMind: The automatic format conversion is supported only for MaxMind files. For other vendors, files must already be in the supported format.
-
Deletion Limitation: Deleting a file that is actively in use is not allowed. Ensure no active dependency before removal.
Configuring centralized GeoIP DB Updates through NetScaler Console
Prerequisites
-
Ensure that you have a valid MaxMind license required to use GeoIP DB files.
-
If you are using file format for other vendor files, ensure that the files are in supported format.
Perform the following steps to upload the GeoIP DB file from MaxMind or any other vendor:
-
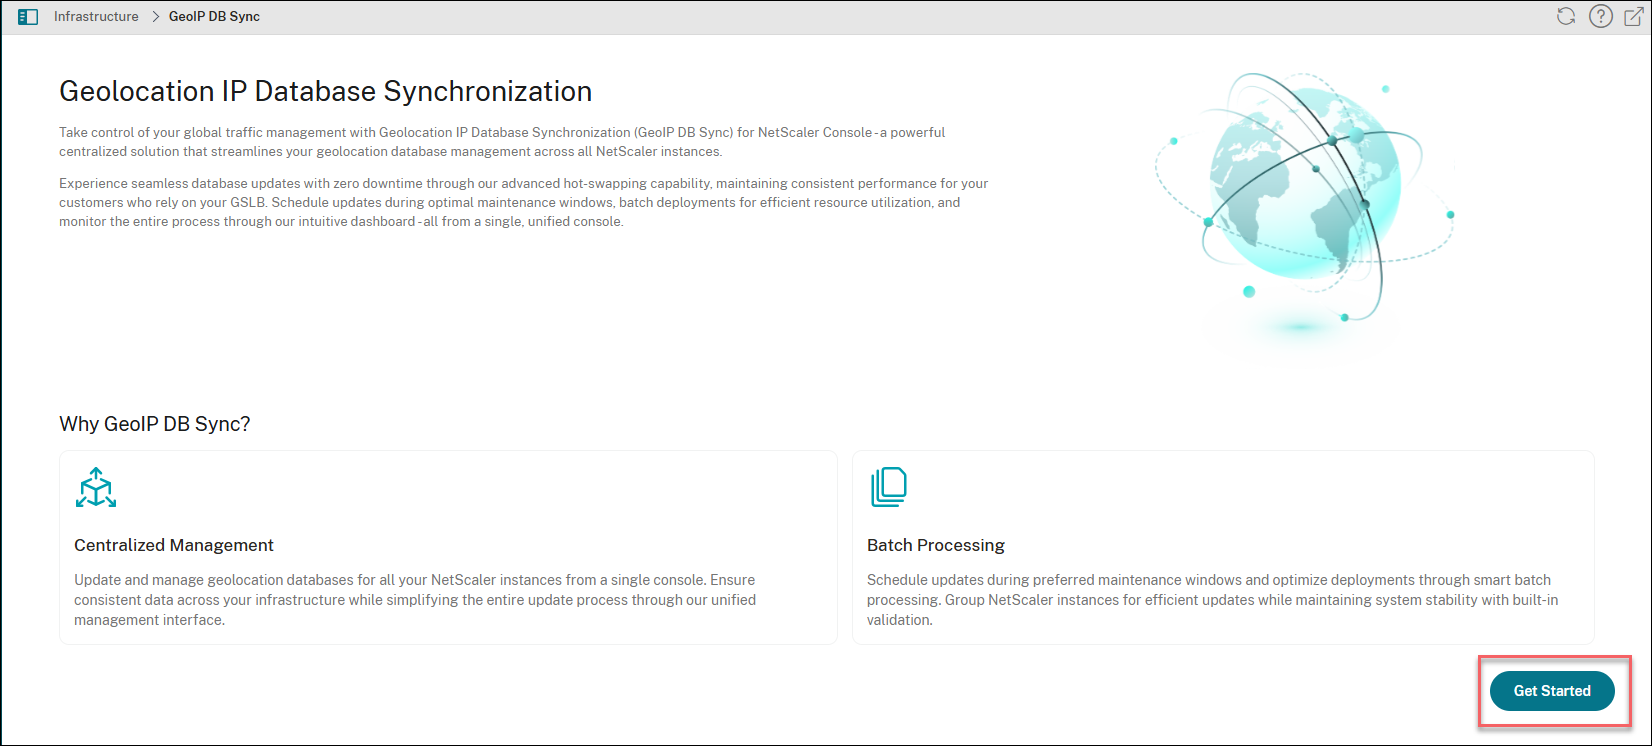
Navigate to Infrastructure > GeoIP DB Sync and click Get Started.
-
Select one of the following options:
-
Local: You can upload a file from your local system.
-
Appliance: You can choose a file that is already present on a NetScaler Console.
Notes:-
If you are uploading the GeoIP DB file for the first time, you do not see the Appliance option. Only if the file is already uploaded, then the Appliance option appears during subsequent uploads.
-
If you upload a MaxMind file, the NetScaler Console service automatically converts the file to the format that NetScaler recommends during the upload. If you upload a file from other providers, then it must in CSV format and adhere to the following field order recommended by NetScaler: IP range, country code, region, city.
-
-
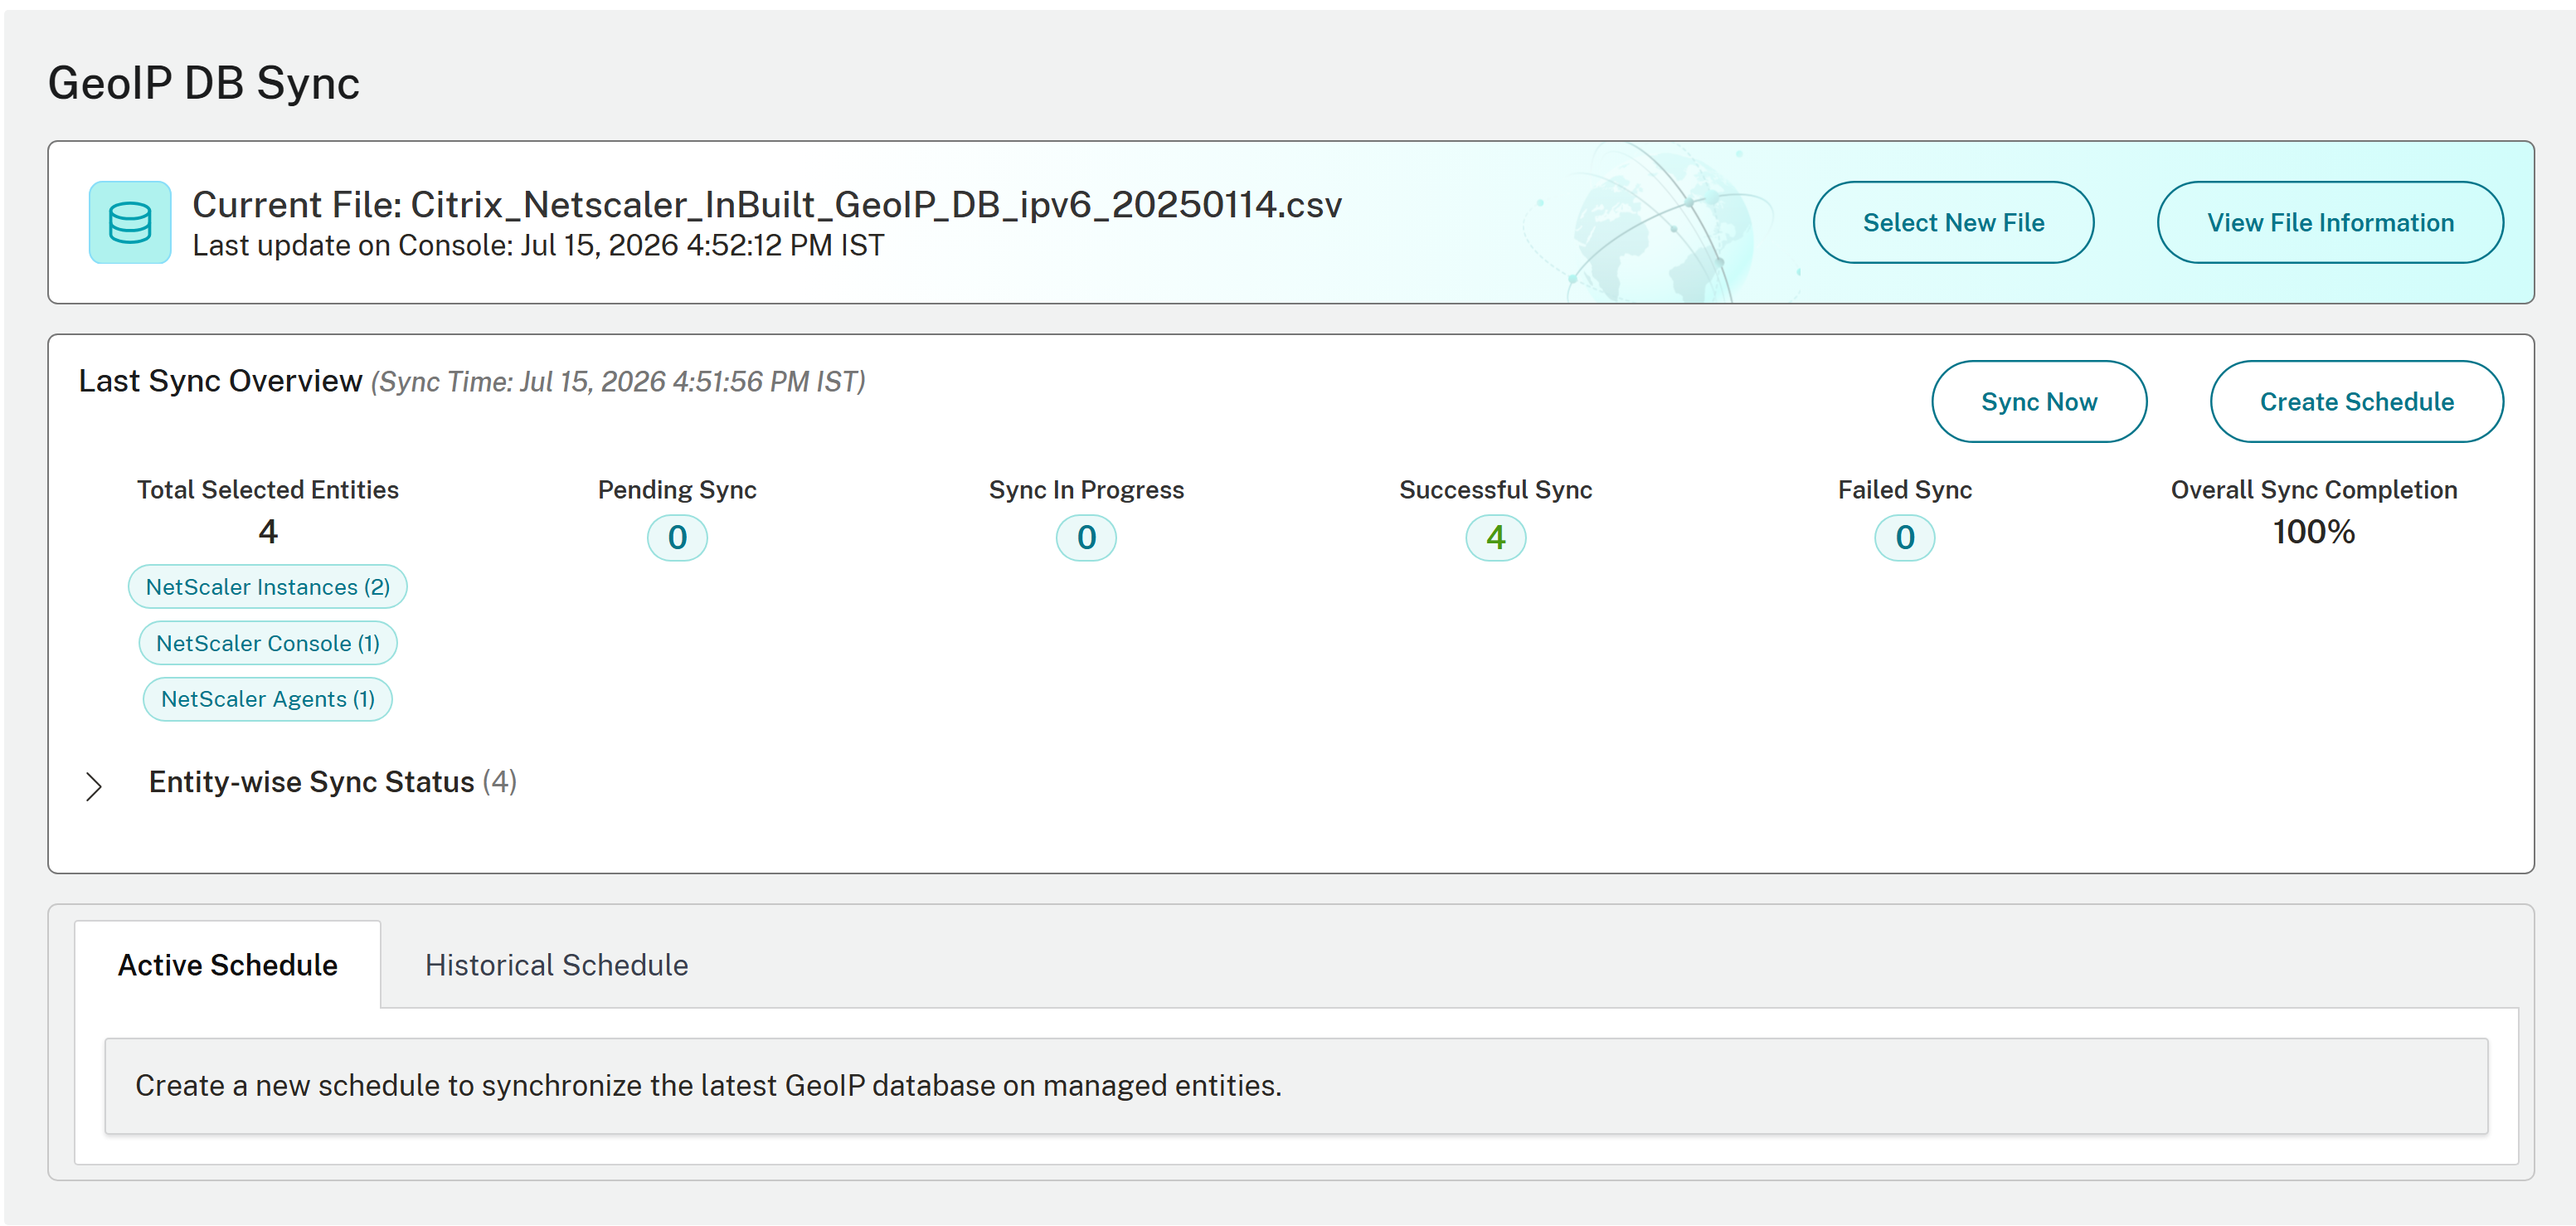
After uploading the file, choose one of the following actions:
-
Sync Now: Proceed immediately to the sync configuration dialog.
-
Create Schedule: Select a future date and time to deploy the file to the target entities.
-
-
If you click Sync Now, choose one of the following deployment modes:
-
Sync all: Automatically distributes the GeoIP DB file to all NetScaler instances, agents, and NetScaler Console.
-
Customize: Manually select your targets:
-
Select NetScaler Console: Displays NetScaler Console to which you are currently logged in.
-
Select NetScaler Instances: Filters and identifies specific instances using the group dropdown menu or a Key:Value search.
-
Select Agents: Displays a list of available agents.
-
Before clicking Start Sync, answer the prompt: "Does the current file contain IPv6?". Select Yes only if your GeoIP file contains IPv6 address blocks. This setting dictates how each target entity parses the data. -
-
Monitor the progress and results on the GeoIP DB Sync page. The Last Sync Overview panel displays the following metrics:
-
Total Selected Entities: The combined count of all targeted NetScaler Console instances, and agents.
-
Pending Sync: The entities that are queued but not yet started.
-
Sync In Progress: The entities that are actively receiving the file.
-
Successful Sync: The entities that completed without error.
-
Failed Sync: The entities that encountered an error.
-
Overall Sync Completion: The percentage of selected entities that completed successfully.
Expand Entity-wise Sync Status to view a per-device table that lists the IP address, host name, type, state, version, and sync status. Use the filter bar to narrow the results by any field, for example, Sync Status: Completed.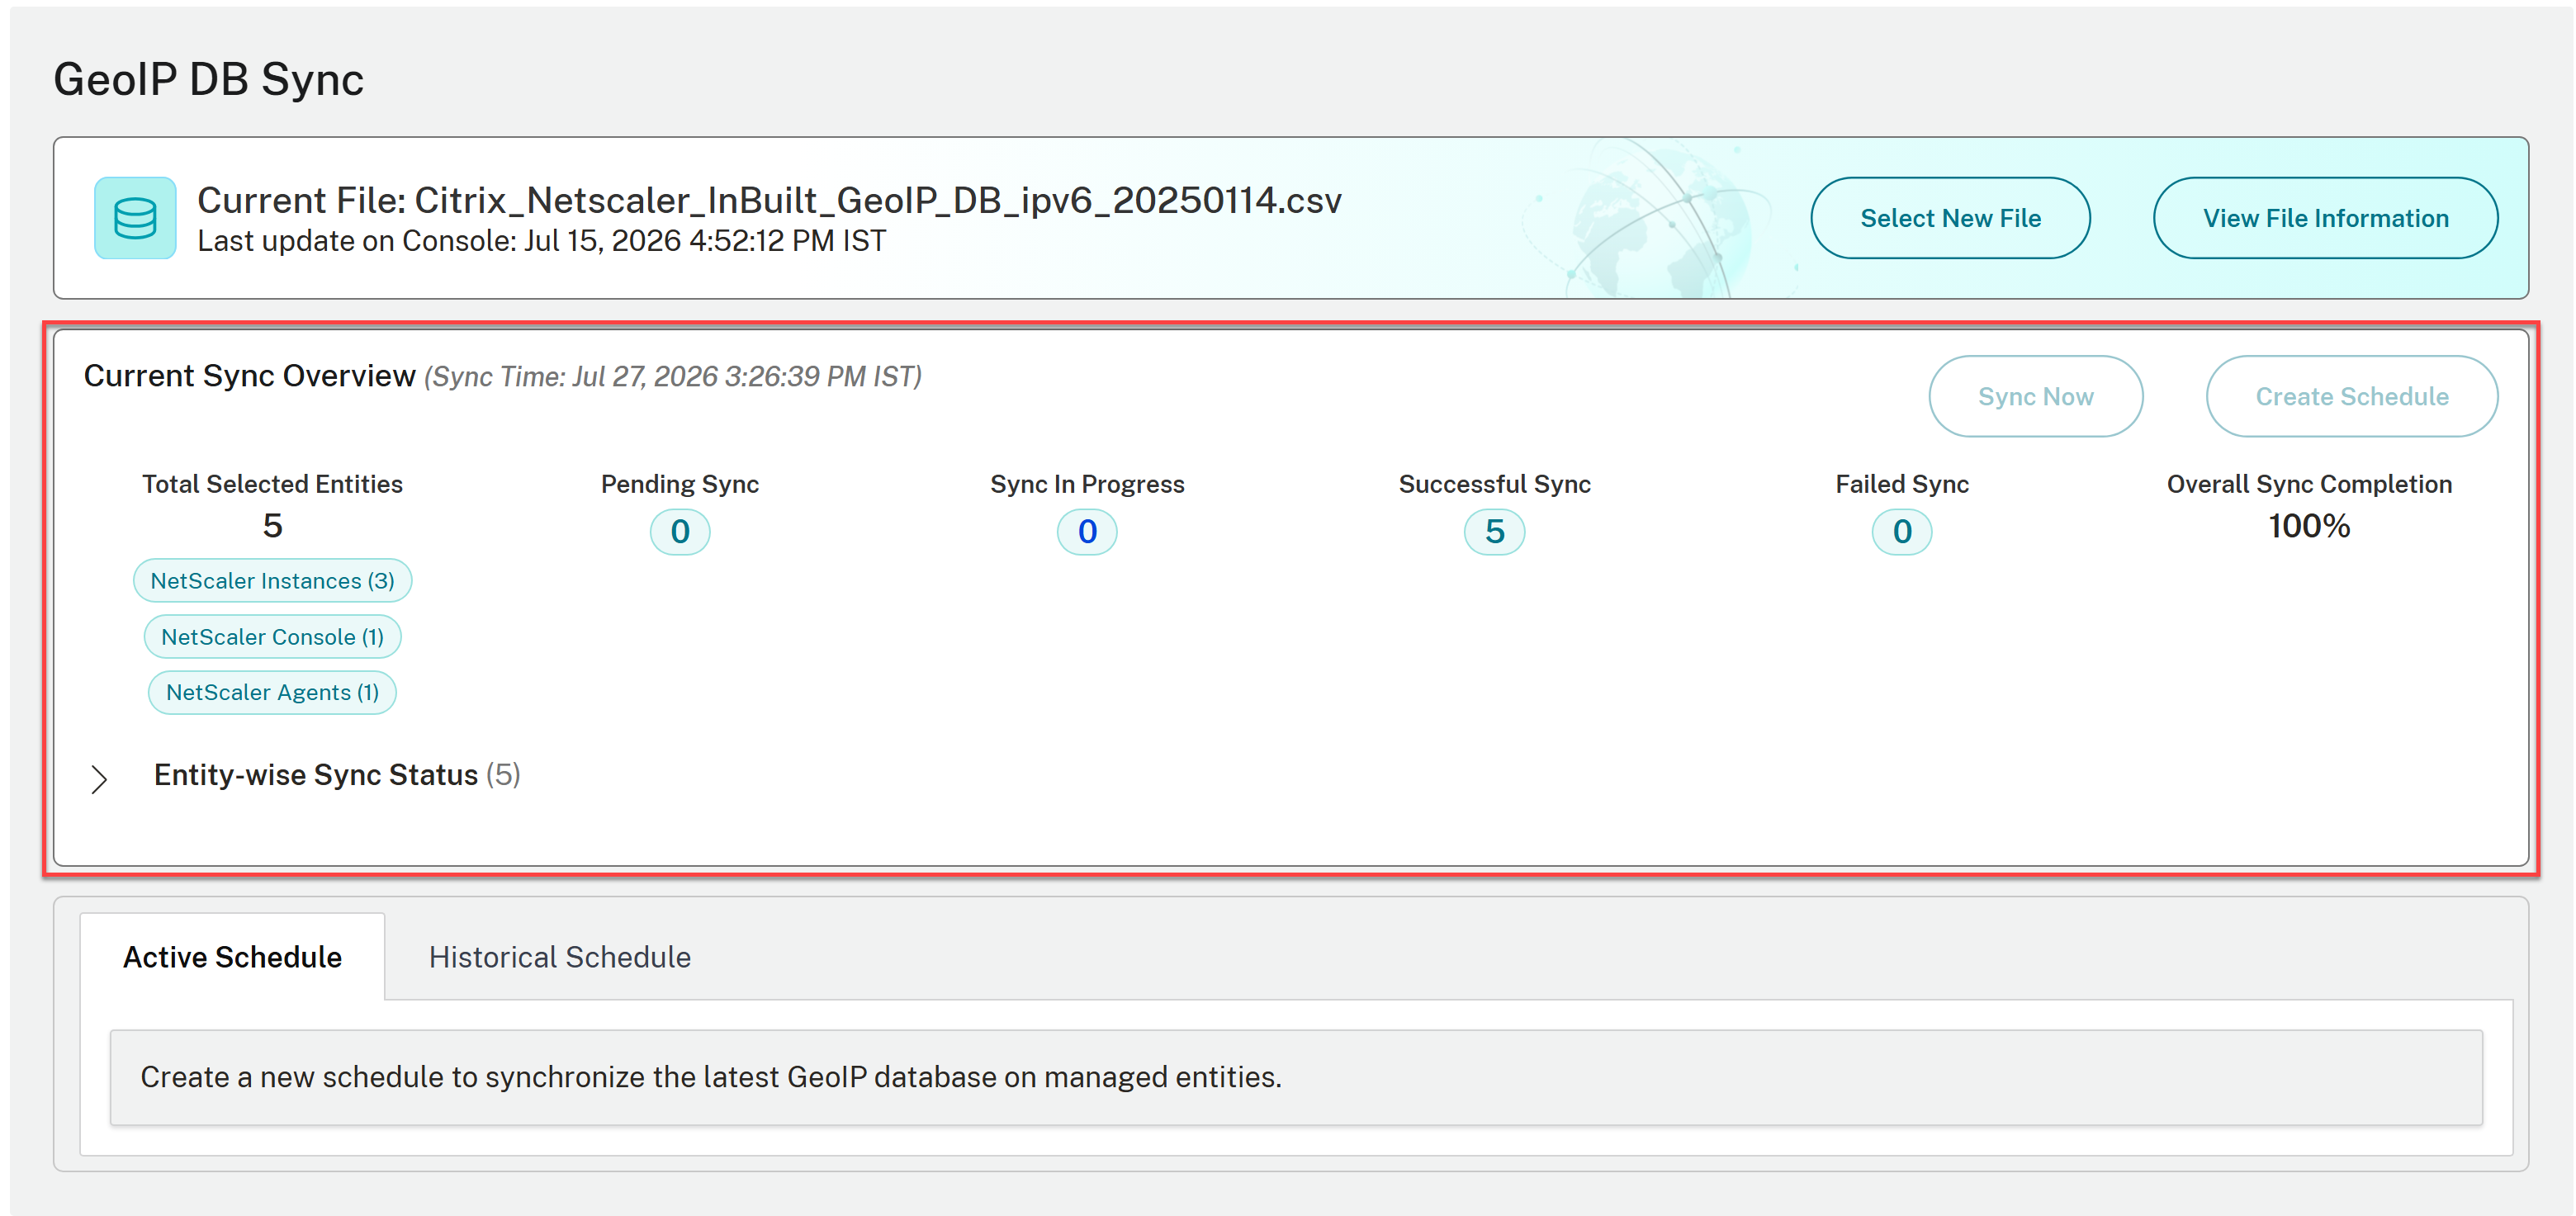
-
-
Based on your requirement, perform any of the following actions from the GeoIP DB Sync page:
-
Select New File: Upload a GeoIP DB file from your local system, or select an already uploaded file from NetScaler Console.
-
View File Information: Review the previously uploaded files. If an issue arises, you can track historical versions, upload, and sync an older GeoIP DB file.
-
Active Schedule: View the upcoming scheduled sync jobs that are yet to run.
-
Historical Schedule: View the completed GeoIP DB sync operations. Each entry shows the entity scope (for example, 2 NetScaler Instances, 1 Agent, and NetScaler Console), the execution timestamp, and the GeoIP file used. Click any entry to view the full job detail, including per-entity sync results (status, start time, and end time) for the NetScaler Console instances, and agents individually.
-