-
Low-touch onboarding of NetScaler instances using Console Advisory Connect
-
-
Importing and synchronizing StyleBooks from an external repository
-
Create and use custom StyleBooks
-
Create a StyleBook to upload files to NetScaler Console service
-
Create a StyleBook to upload SSL certificate and certificate key files to NetScaler Console service
-
Enable analytics and configure alarms on a virtual server defined in a StyleBook
-
Allow special characters with their literal form in StyleBooks
-
Use API to create configurations from StyleBooks
-
This content has been machine translated dynamically.
Dieser Inhalt ist eine maschinelle Übersetzung, die dynamisch erstellt wurde. (Haftungsausschluss)
Cet article a été traduit automatiquement de manière dynamique. (Clause de non responsabilité)
Este artículo lo ha traducido una máquina de forma dinámica. (Aviso legal)
此内容已经过机器动态翻译。 放弃
このコンテンツは動的に機械翻訳されています。免責事項
이 콘텐츠는 동적으로 기계 번역되었습니다. 책임 부인
Este texto foi traduzido automaticamente. (Aviso legal)
Questo contenuto è stato tradotto dinamicamente con traduzione automatica.(Esclusione di responsabilità))
This article has been machine translated.
Dieser Artikel wurde maschinell übersetzt. (Haftungsausschluss)
Ce article a été traduit automatiquement. (Clause de non responsabilité)
Este artículo ha sido traducido automáticamente. (Aviso legal)
この記事は機械翻訳されています.免責事項
이 기사는 기계 번역되었습니다.책임 부인
Este artigo foi traduzido automaticamente.(Aviso legal)
这篇文章已经过机器翻译.放弃
Questo articolo è stato tradotto automaticamente.(Esclusione di responsabilità))
Translation failed!
Detailed procedures to setup single tier or unified ingress topology
The prerequisites to deploy the single tier or unified ingress topology is available at Setting up service graph.
Add VPX or SDX or MPX or BLX instance in NetScaler Console
To get the tier-1 NetScaler instance analytics in service graph, you must add the VPX/SDX/MPX/BLX instance in NetScaler Console and enable Web Insight. You must enable Web Insight for NetScaler Console to display the web transaction details from the VPX/SDX/MPX/BLX instance.
-
Navigate to Infrastructure > Instances > NetScaler
-
Click the Add option to add the instance. For more information, see Add instances in NetScaler Console
-
After adding the instance, select the virtual server and enable Web Insight to view the web transaction details. For more information, see Manage licensing and enable analytics on virtual servers
Add Kubernetes cluster in NetScaler Console
To add the Kubernetes cluster:
-
Log on to NetScaler Console with administrator credentials.
-
Navigate to Infrastructure > Orchestration > Kubernetes > Cluster. The Clusters page is displayed.
-
Click Add.
-
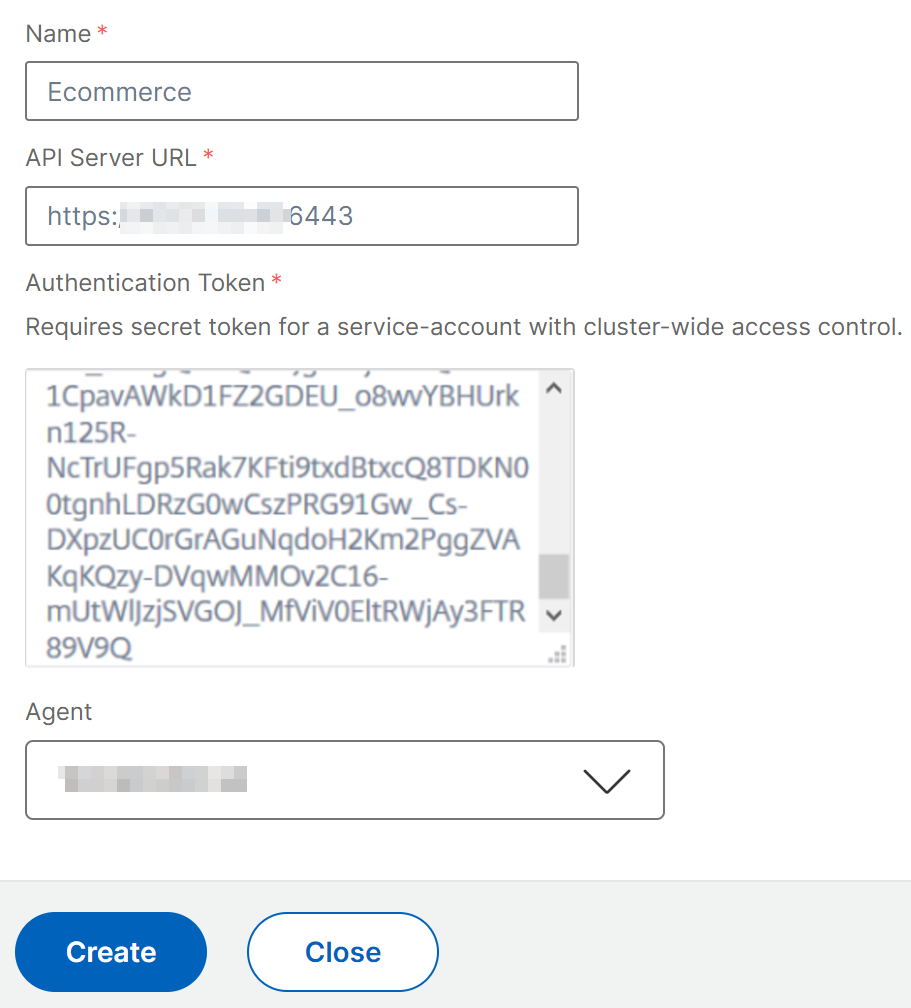
In the Add Cluster page, specify the following parameters:
-
Name - Specify a name of your choice.
-
API Server URL - You can get the API Server URL details from the Kubernetes Master node.
-
On the Kubernetes master node, run the command
kubectl cluster-info.
-
Enter the URL that displays for “Kubernetes master is running at.”
-
-
Authentication Token - Specify the authentication token. The authentication token is required to validate access for communication between Kubernetes cluster and NetScaler Console. To generate an authentication token:
On the Kubernetes master node:
-
Create a service account by using the YAML.
kubectl create -f adm_svc_account.yamlThe service account is created.
-
Run
kubectl create clusterrolebinding citrixadm-sa-admin --clusterrole=cluster-admin --serviceaccount=default:citrixadm-sato bind the cluster role to service account.The service account now has the cluster-wide access.
A token is automatically generated while creating the service account.
-
Run
kubectl describe sa citrixadm-sato view the token. -
To get the secret string, run
kubectl describe secret <token-name>.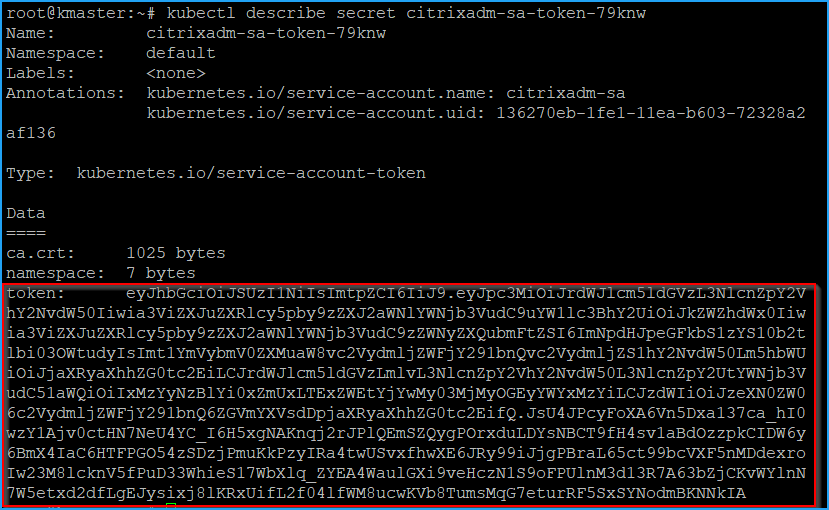
-
-
Select the agent from the list.
Note
Ensure to select the same agent that you have added in the CPX YAML.
-
Click Create.
-
Share
Share
This Preview product documentation is Cloud Software Group Confidential.
You agree to hold this documentation confidential pursuant to the terms of your Cloud Software Group Beta/Tech Preview Agreement.
The development, release and timing of any features or functionality described in the Preview documentation remains at our sole discretion and are subject to change without notice or consultation.
The documentation is for informational purposes only and is not a commitment, promise or legal obligation to deliver any material, code or functionality and should not be relied upon in making Cloud Software Group product purchase decisions.
If you do not agree, select I DO NOT AGREE to exit.